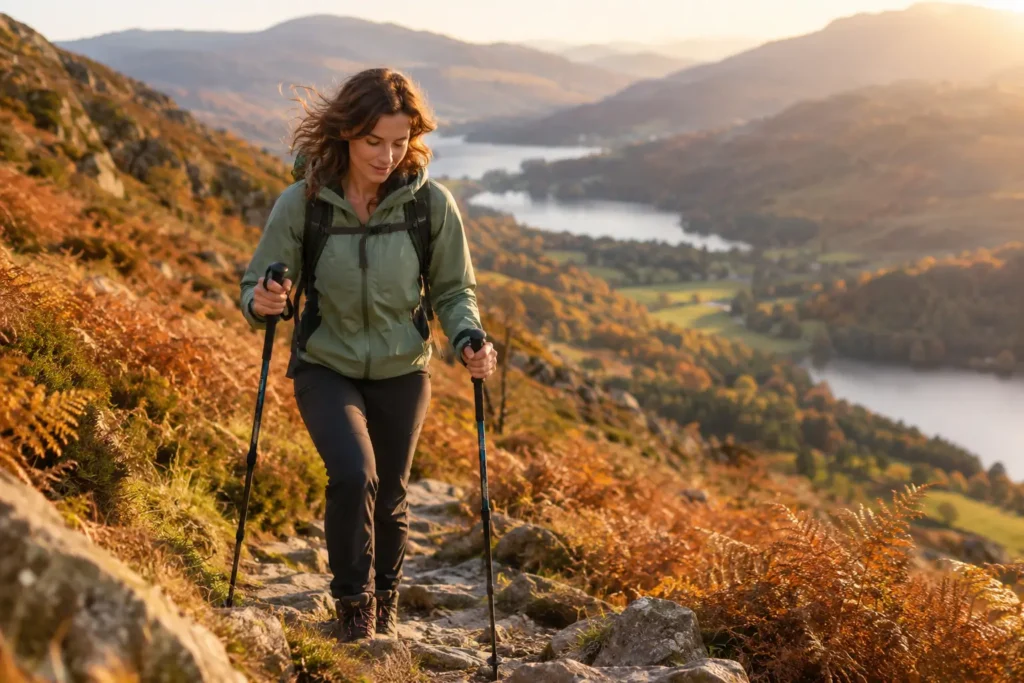
I used to think trekking poles were for people who had done a lot more hiking than me. Serious people. People with gaiters and strong opinions about ridgelines. Then I came down a muddy, loose-stone descent in the Lake District with a full day in my legs, and my left knee started sending me a very clear message with every single step.
A woman about twice my age passed me on that descent. She was chatting, unhurried, and using two battered aluminium poles as if she were walking down her own staircase. I was grabbing tree roots and wincing. She did not look smug about it, which somehow made it worse. At the bottom I asked what her secret was, and she said, “Honestly, my knees stopped complaining the day I started using these.”
Here is the thing, though. Poles are not magic. Plenty of beginners buy a pair, never learn to use them, and end up carrying them in one hand like a confused skier. Some advice online makes poles sound essential for everyone, and some makes them sound like a gimmick. Both are wrong. This guide is the honest in-between version: when you genuinely need poles, when you can leave them at home, how to size and use them properly, and what to look for in a first pair without spending silly money.
I will also say something most gear articles skip. You do not need “women’s” poles. You need poles that fit your height and your hands. We will get to that, and we will keep it simple.
Do You Actually Need Trekking Poles as a Beginner?
No, you do not need trekking poles to start hiking. Millions of people hike every weekend without them, and if you are walking short, flat or gently rolling trails on a clear path, you will be perfectly fine with empty hands. Poles are a tool, not a rite of passage, and your boots, your socks and a comfortable daypack matter far more in your first few months.
Where poles start earning their place is when the trail gets longer, steeper or rougher. The longer your day, the more your legs tire, and tired legs make sloppy steps. Poles give you two extra points of contact with the ground. That means less work for your knees, ankles and hips, and more stability when your legs stop cooperating.
Here is how I think about it. If your hike is under about 8 km (5 miles), mostly flat and on a good path, leave them at home. If it has more than 300 metres (roughly 1,000 feet) of climbing, a long steep descent, loose stone, mud or a stream crossing, take them. If you are carrying a heavier pack, coming back from an injury, or simply feel braver with them, take them too. Feeling more confident is a perfectly good reason.
When you can happily skip them
- Short, flat walks on well-made paths, such as a woodland loop or a lakeside stroll.
- Trails where you will need your hands, such as easy scrambles, where poles just get in the way.
- Days when you want a minimal setup and are already carrying a camera, a coffee and a dog lead.
If you are still working out what kind of trail suits you, start with the route rather than the kit. Choosing a trail with the right amount of climbing for your fitness will do more for your enjoyment than any piece of gear. My guide on how to choose a hiking trail as a beginner woman shows you how to read distance and elevation before you go. My guide on how to choose a hiking trail as a beginner woman shows you how to read distance and elevation before you go.
Where Trekking Poles Genuinely Help
Downhill, and your knees
Downhill is where poles do their best work. Every step down sends a lot of force through your knees, and over a long descent that adds up to real fatigue and often real pain. Poles let your arms take some of that load, so your legs absorb less with each step. You will often see the figure of roughly 20 to 25 percent less force on the knees quoted in research summaries, though it varies with terrain and technique, so treat it as a rough guide rather than a promise.
The practical effect is easy to feel. You finish a long descent with less of that wobbly, jelly-legged feeling, and you are far less likely to slip when the path turns to wet stone or loose gravel. That is the descent I wish I had taken with poles.
Uphill, and your lungs
On climbs, poles let your arms share the work. You push with your upper body on each step, which gives your legs a small but noticeable break and helps you keep a steady rhythm. It will not turn a steep hill into a flat one, but over an hour of climbing it makes a difference to how you feel at the top.
If you are building fitness from a low starting point, poles can make those first few hikes far less punishing. If you are just getting started, my guide to hiking when you’re out of shape walks you through how to build up gently. They also help you pace yourself, because the two-arm rhythm naturally slows you down to a sustainable speed. If you are just getting started, my guide to hiking when you’re out of shape walks you through how to build up gently.
Balance on rough or slippery ground
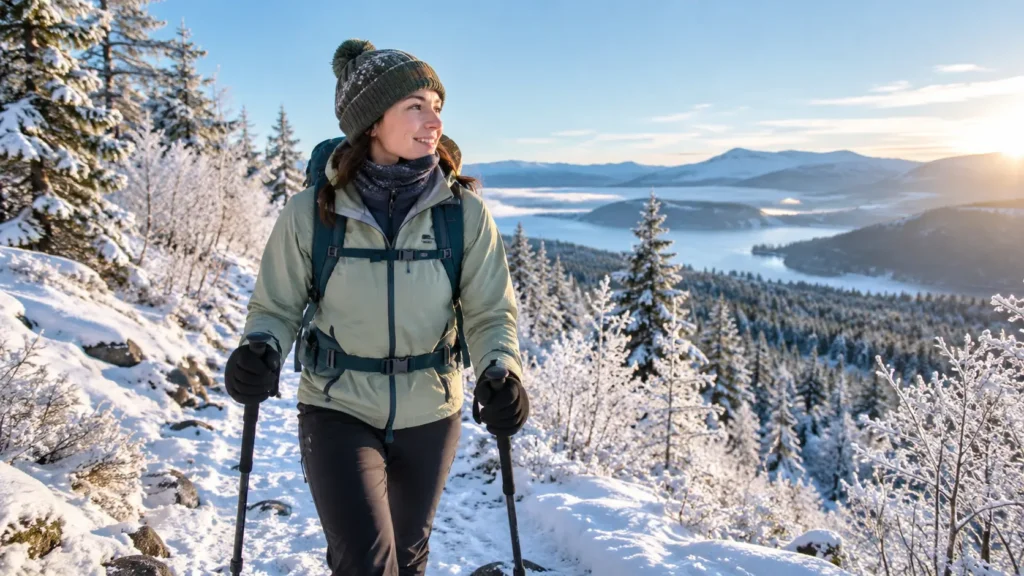
Mud, wet roots, scree, snow patches and shallow stream crossings are all easier with poles. Think of them as extra feet. You test the ground ahead before you commit your weight, and you have something to lean on if a stone rolls. For anyone who feels nervous on uneven ground, that alone can change how much you enjoy a hike.
Heavier packs and long days
A day pack with a litre of water, lunch and a waterproof is not heavy, so poles are optional. Once you start carrying more, such as an overnight pack or lots of layers in cold weather, the load pushes down through your legs and poles help spread it. On a full-day hike of five or six hours, they also save energy you will be glad of in the last hour.
Do Women Need Women-Specific Trekking Poles?
Honestly, not really. Most poles sold as “women’s” are the same basic design as the unisex ones, with a few small tweaks. The grips are often slightly smaller, the poles are a touch lighter, and the maximum length is a bit shorter. These can be useful if you have small hands or you are on the shorter side, but they are not a different technology.
What matters is that the pole length range covers your height and the grip feels comfortable in your hand. If you are around 5 ft 8 in (173 cm) or under, almost any adjustable pole will reach a good length. If you have smaller hands, check the grip before buying, because a fat, hard grip is miserable by hour three. Ignore any marketing that suggests you need pink poles with a special formula.
So choose by fit, weight and locking system, not by the word “women’s” on the label. If the women’s version happens to be lighter and has a smaller grip, great. If the unisex one fits better, buy that.
How to Size Trekking Poles for Your Height
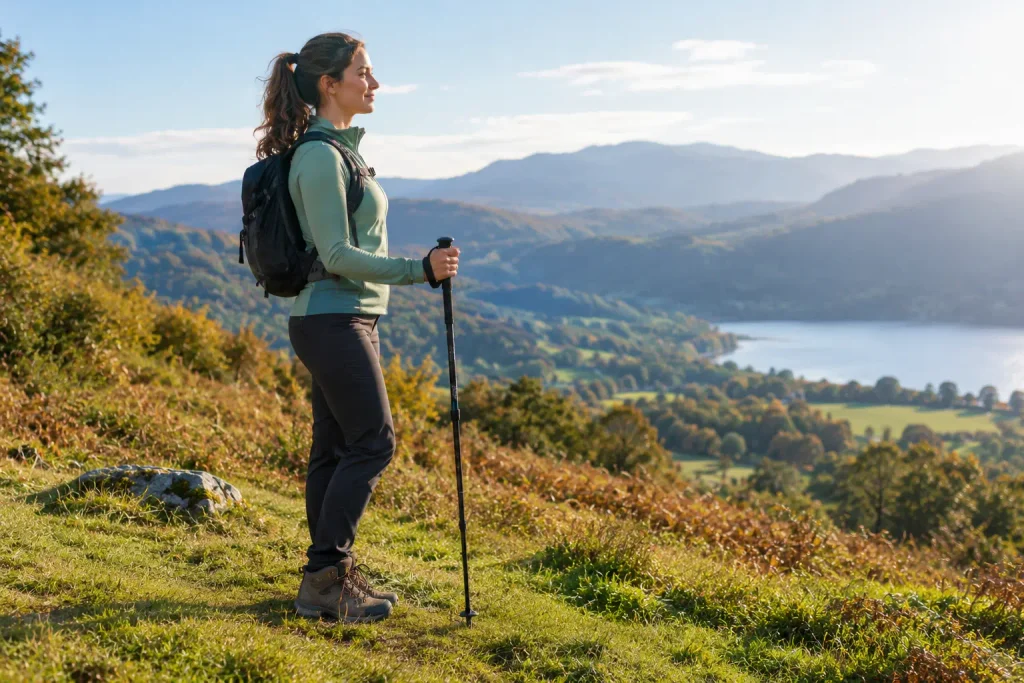
The easiest way to find your starting length is to stand up straight in your hiking boots, hold the pole with the tip on the ground next to you, and bend your elbow. It should sit at roughly 90 degrees, with your forearm parallel to the floor. If your elbow is higher than that, the pole is too short. If your shoulder hunches up, it is too long.
If you prefer a number to start from, multiply your height by about 0.68. The table below does that for you. It is a starting point, not a rule, because you will adjust on the trail anyway.
| Your height | Starting pole length | Notes |
| 5 ft 0 in (152 cm) | About 103 cm | Check the pole can go this short |
| 5 ft 2 in (157 cm) | About 107 cm | Most adjustable poles cover this |
| 5 ft 4 in (163 cm) | About 111 cm | A very common size |
| 5 ft 6 in (168 cm) | About 114 cm | Fine on any standard adjustable pole |
| 5 ft 8 in (173 cm) | About 118 cm | Fine on any standard adjustable pole |
| 5 ft 10 in (178 cm) | About 121 cm | Check the maximum length |
Adjustable poles are the sensible choice for beginners, because you will want to change the length for climbs and descents. Fixed-length poles are lighter, but they only suit you if you are certain of your size and happy with one setting for everything.
How to Use Trekking Poles Properly
This is the section most people never get, and it is the reason so many beginners give up on poles. A few small habits make poles feel natural within one hike.
Hold them the right way
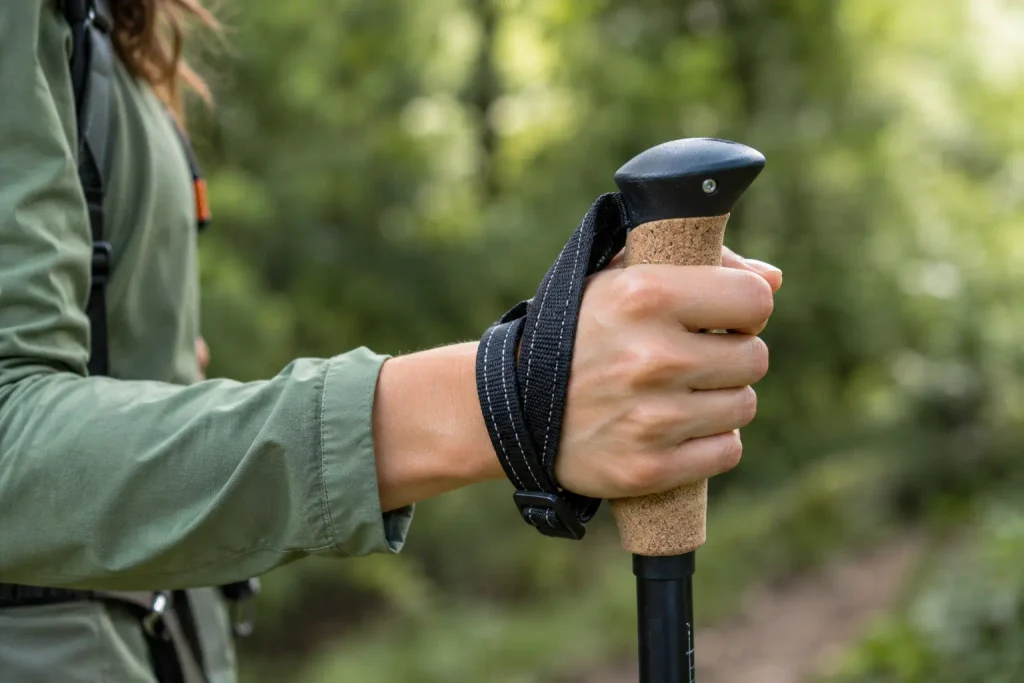
Put your hand up through the strap from underneath, then bring it down and close your hand around the grip with the strap running between your thumb and fingers. The strap should take some of your weight so you are not gripping hard. If your knuckles are white, you are holding them too tightly. A relaxed hand is the goal.
On flat ground
Walk as you normally do and swing the opposite arm and leg forward together, the same as when you walk without poles. The tips should land roughly level with your front foot, angled slightly back. Do not stab them out in front of you like a fencer.
Going uphill
Shorten the poles by about 5 to 10 cm, plant them slightly ahead of you and push down and back as you step. Lean gently into the hill. On very steep sections, you can plant both poles at the same time and step up between them.
Going downhill
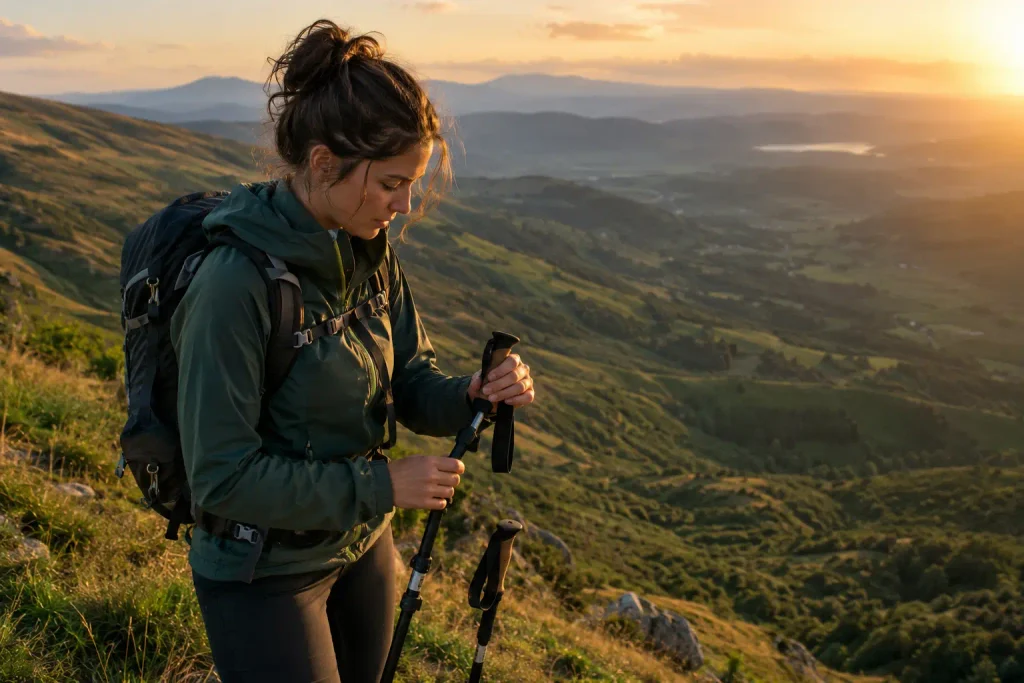
Lengthen the poles by about 5 to 10 cm, plant them ahead of you before you step down, and keep your knees soft. This is the moment poles pay for themselves. Take smaller steps than feels natural and let your arms share the landing.
Across a slope
If the path runs along the side of a hill, shorten the pole on the uphill side and lengthen the one on the downhill side. It looks fussy, but it keeps your body upright and your balance centred.
Practise for ten minutes on a local park slope before your first big day out. You will look slightly silly for about four minutes, and then it will click.
What to Look for in Your First Pair of Trekking Poles
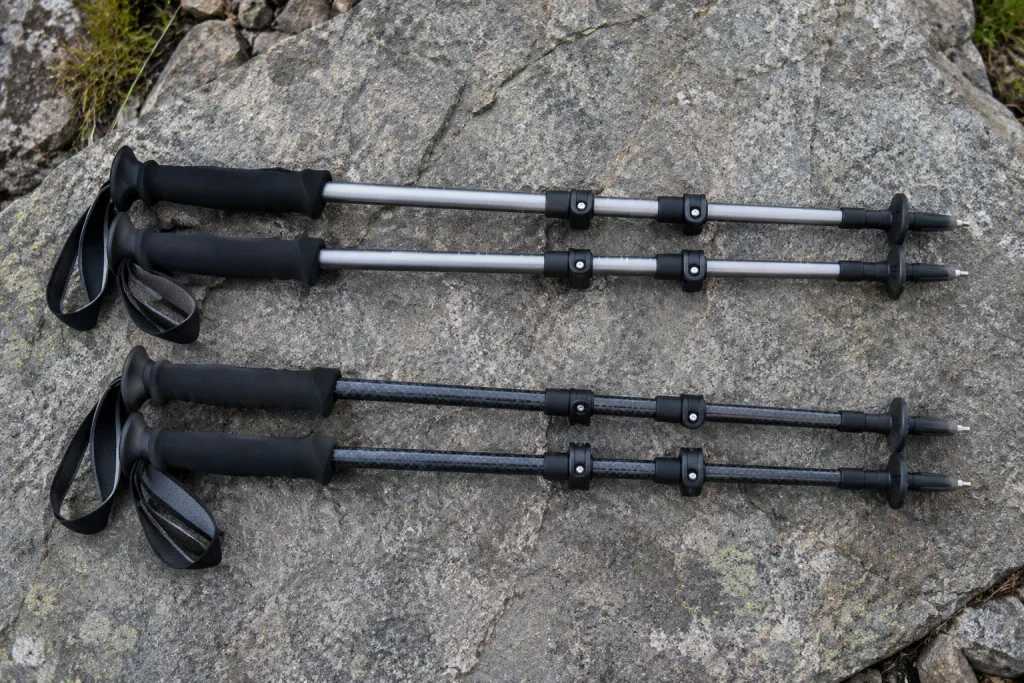
You do not need to spend a lot. For a beginner, three things matter: that the poles adjust smoothly and stay locked, that they are light enough that your arms do not tire, and that the grips are comfortable. Here are the three main types, with honest notes on who each one suits. Prices are rough guides and should be checked before you buy.
Aluminium adjustable poles
Material / Weight / Price: Aluminium shaft, around 450 to 600 g per pair, roughly £25 to £50 / $30 to $60.
Best for: Most beginners. They are tough, forgiving and cheap enough that you will not cry if you bend one.
Sophie’s note: This is what I would buy first. They are a little heavier than carbon, but a bend is easy to live with and a snapped carbon pole is not. Look for external flip-lock closures rather than twist locks, because they are easier to adjust with cold hands and they fail less often.
Carbon adjustable poles
Material / Weight / Price: Carbon fibre shaft, around 300 to 450 g per pair, roughly £60 to £130 / $70 to $160.
Best for: Hikers who already know they love poles and want less weight on long days.
Sophie’s note: They are lovely to carry, and you will notice the weight difference after four hours. But carbon can snap under a sharp knock rather than bend, so they are overkill for a first pair. Save them for when you are sure you will use them often.
Folding (Z-style) poles
Material / Weight / Price: Aluminium or carbon sections joined by a cord, around 300 to 500 g per pair, roughly £40 to £120 / $50 to $150.
Best for: Hikers who want to stash poles in a small pack when they do not need them, or who also travel.
Sophie’s note: They fold down small and go up in seconds, which is great for a day with some flat sections. The trade-off is that many have limited length adjustment, so check that the range covers your height before you buy.
Grips, tips and baskets
Cork and foam grips are the comfiest and cope well with sweaty hands, while hard rubber can rub on a long day. Carbide tips grip rock and soil well, and many poles come with small rubber tip covers for paths and pavement. Baskets are the little discs near the tip, and the smaller ones are fine for summer trails.
Common Beginner Mistakes With Trekking Poles
Setting them too long or too short. Most people start with poles that are too long, which makes the shoulders ache. Go back to the 90-degree elbow rule and adjust.
Gripping too tightly. If your forearms burn after an hour, you are squeezing the grip instead of letting the strap work. Loosen your hand and let the strap carry the load.
Planting them too far ahead. If you are reaching out and leaning on them, they are not helping your stride. Keep the tips roughly level with your front foot.
Carrying them instead of using them. If you are going to hold your poles for most of the day, leave them at home or strap them to your pack. Extended poles in your hand on flat ground just add weight to your arms.
Expecting them to fix everything. Poles do not replace good footwear, and they will not rescue you from boots that do not fit. If your boots are the weak link, start with my picks for the best women’s hiking boots for beginners. If your feet hurt, fix that first. If your boots are the weak link, start with my picks for the best women’s hiking boots for beginners.
Looking After Your Poles
A little care keeps a cheap pair going for years. After a muddy or wet hike, wipe the poles down and extend each section so the inside can dry. Never store them collapsed and wet, because that is how aluminium corrodes and locks seize.
Check the tips occasionally. Worn carbide tips slip on rock, and most brands sell replacements for a few pounds. Tighten the lock tension if a section starts to slide down under your weight. Most flip-locks have a small screw or dial for exactly that.
Your Trekking Pole Action Checklist
- Decide if you need them: 300 m+ of climbing, a long descent, rough ground or a heavy pack means yes.
- Measure your height and find your starting length (elbow at 90 degrees).
- Choose adjustable aluminium poles with flip-locks for a first pair.
- Check the grip fits your hand and the length range covers your height.
- Practise on a small local slope for ten minutes before a big day.
- Shorten for uphill, lengthen for downhill, and keep a loose grip.
- Dry and store them extended, not collapsed.
Final Thoughts
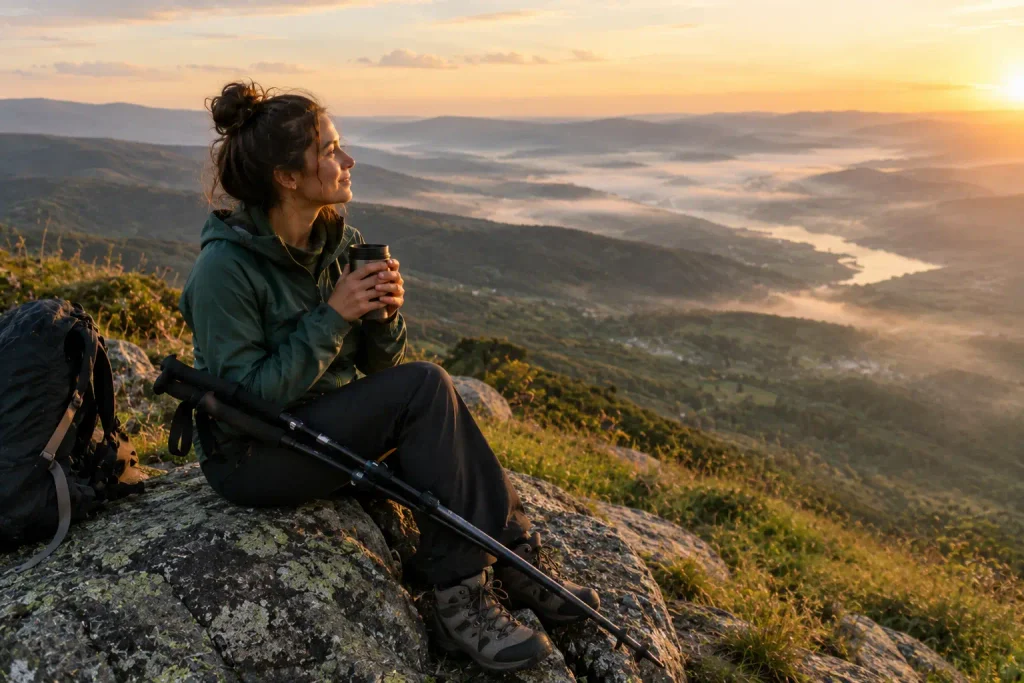
Trekking poles are one of those pieces of gear that sound complicated and turn out to be simple. They are not essential, and you can enjoy hiking for years without them. But on longer days, steep descents and rough ground, a decent pair can save your knees, steady your nerves and let you keep going when your legs would rather stop.
If you are unsure, borrow a pair from a friend or rent some before you buy. A single hike with poles will tell you more than any article, including this one. If they help, buy an affordable adjustable aluminium pair, learn the uphill and downhill adjustments, and skip the expensive carbon until you know you will use them.
Most of all, do not feel pressured into buying kit because someone online says you must. You know your own knees, your own trails and your own confidence levels. Start where you are, take what helps, and leave behind what does not.
FAQs
No, most beginner hikes are short and on clear paths, and you will be fine without them. Poles become useful when you add serious climbing, long descents, loose or slippery ground, or a heavier pack. If you are on a flat or gently rolling trail, save your money for good boots and socks first. You can always add poles later once you know your own hiking style.
For many people, yes. Poles share the load with your arms, which reduces the force through your knees on descents in particular. They will not fix an underlying joint problem, so if your knee pain is persistent, it is worth speaking to a doctor or physiotherapist. Used well, they can make longer hikes a lot more comfortable.
Stand upright in your hiking boots with the tip on the ground and your elbow bent at about 90 degrees. That is your starting length for flat ground. As a rough guide, multiply your height by 0.68 to get a number. Then shorten the poles a little for uphill and lengthen them a little for downhill.
Two poles give you better balance and share the load evenly, so they are the best choice for most hikers. A single pole can be fine on easy terrain or if you want a free hand for a camera or a dog. If you are new to poles, start with two to learn the rhythm, then experiment with one once you are comfortable.
In most cases, trekking poles are not allowed in cabin baggage, because airlines classify them as sharp or blunt objects. The safe approach is to pack them in checked luggage. Rules vary between airlines and airports, so check your carrier’s policy before you travel. Folding poles are easier to fit into a suitcase.

Intermediate hiker sharing real trail experience — honest gear picks, beginner-friendly guides, no filler.