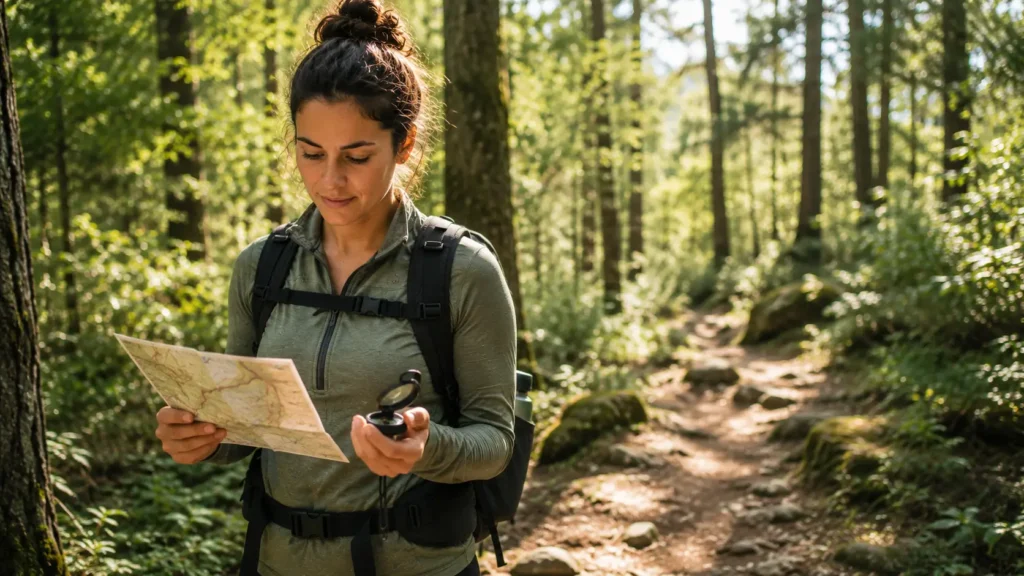
The fear of getting lost is one of the biggest reasons beginner women hesitate to hike alone — or hike at all. It’s a completely reasonable fear. But the truth is, learning how to use a compass and map isn’t nearly as complicated as it looks, and it’s one of the fastest ways to feel genuinely confident on the trail.
This guide skips the jargon-heavy explanations you’ll find in most navigation articles and walks you through exactly what you need to know — how to read a trail map, how to use a basic compass, and what to actually do if you start to feel unsure of where you are.
Why this matters more than you think
Even on well-marked trails, things go wrong. Signs get knocked down. Trails fork in confusing ways. Weather rolls in and visibility drops. Apps lose signal in canyons or dense forest. None of this means you did something wrong — it just means navigation is a real skill worth having, not a backup plan for emergencies.
The good news: you don’t need to become a backcountry navigation expert. For the vast majority of day hikes on maintained trails, a basic understanding of map reading and compass use is more than enough to keep you oriented and confident.
Start with your phone — but don’t rely on it alone
Apps like AllTrails and Gaia GPS are genuinely excellent and most beginner women’s hikes are well served by them. Download the trail map before you leave so it works offline, and turn on track recording so you can see exactly where you’ve been.
But phones die. Batteries drain faster in cold weather. Signal disappears in valleys and dense tree cover. This is exactly why carrying a paper map and a basic compass as backup — and knowing how to use them — makes such a difference. You’re not choosing one over the other. You’re using both.
How to read a trail map
Understand the scale
Every map has a scale, usually shown as a ratio like 1:24,000. This means one inch on the map equals 24,000 inches in real life — roughly 2,000 feet. A smaller ratio number means more detail but covers less area. Knowing the scale helps you estimate how far you actually have to walk, which matters more than you’d expect when you’re tired and want to know if the trailhead is 10 minutes or an hour away.
Learn the legend
The map legend explains every symbol — trail markers, water sources, campsites, road crossings, elevation changes. Spend two minutes looking at it before you start hiking. It’s the difference between recognizing a symbol on the trail and being confused by it.
Contour lines tell you the terrain
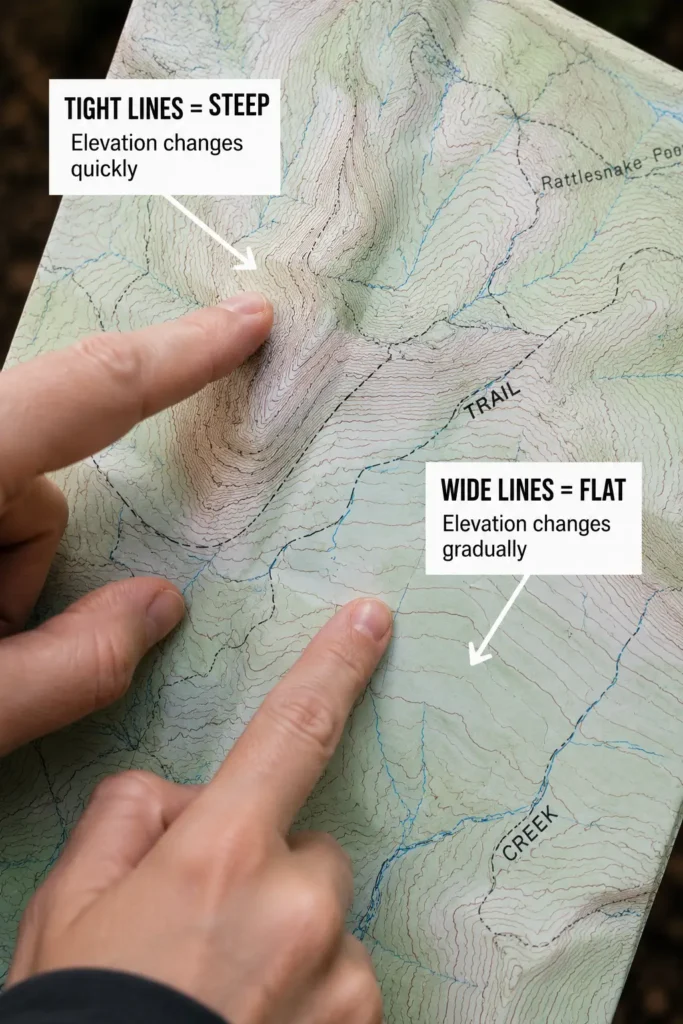
Contour lines are the wavy lines on topographic maps that show elevation. Lines close together mean steep terrain. Lines spread far apart mean flat or gentle terrain. You don’t need to become an expert at reading them — just understanding that tightly packed lines mean a tough climb ahead is genuinely useful information before you commit to a route.
Identify landmarks before you go
Before your hike, look at the map and note a few landmarks you’ll pass — a stream crossing, a viewpoint, a major trail junction. These become your checkpoints. If you reach a stream crossing that isn’t on your map within the expected distance, that’s your signal to stop and check your position rather than continuing on autopilot.
How to use a compass — the simple version
A basic baseplate compass has more parts than it needs to intimidate you with. Here’s what actually matters for trail navigation.
The parts you need to know
- Magnetized needle — the floating arrow that always points to magnetic north
- Direction-of-travel arrow — the fixed arrow on the baseplate showing which way to walk
- Orienting arrow — the outlined arrow inside the rotating bezel
- Rotating bezel — the ring marked with degrees, 0 to 360
Orienting your map (the first thing to learn)
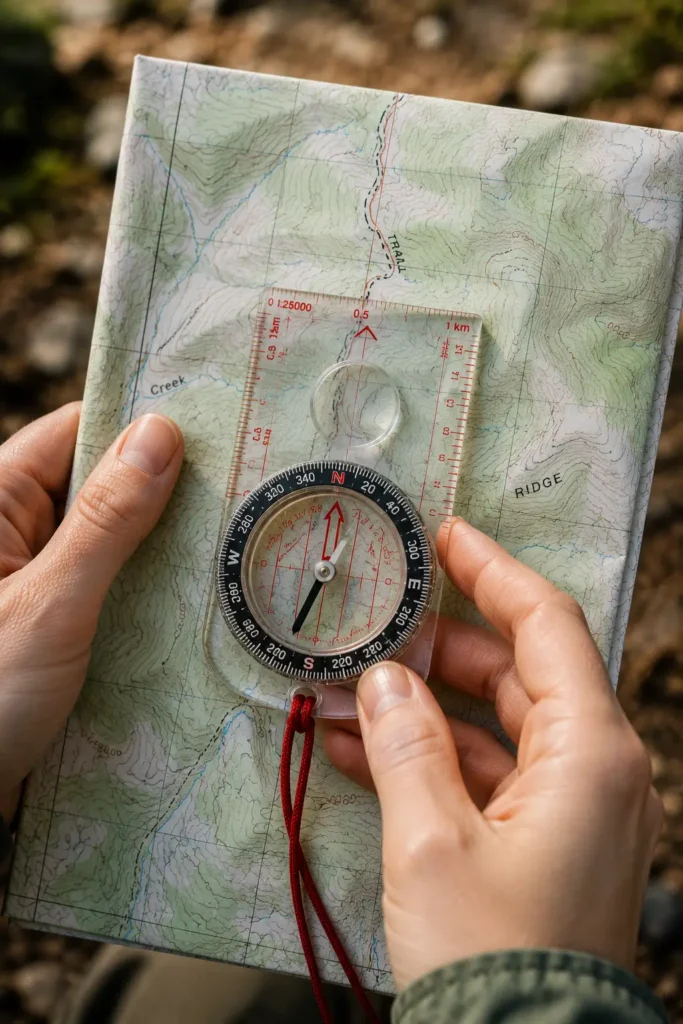
This is the single most useful compass skill for a beginner. It simply means turning your map so it physically matches the direction you’re facing.
- Place your compass flat on the map with the direction-of-travel arrow pointing toward the top of the map
- Rotate the bezel until N lines up with the direction-of-travel arrow
- Holding the compass and map together, rotate your whole body until the magnetized needle sits inside the orienting arrow — this is sometimes called “boxing the needle” or “red in the shed”
- Your map is now facing the same direction as the actual landscape around you
Once your map is oriented, everything becomes easier to identify — the mountain on your left on the map should be the mountain on your actual left.
Following a bearing
If you need to walk toward a specific point — a landmark you can see, or a destination on your map — here’s the simplified version:
- Point the direction-of-travel arrow at your destination
- Rotate the bezel until the magnetized needle sits inside the orienting arrow
- Now simply walk in the direction the travel arrow points, checking every so often that the needle is still boxed
That’s genuinely the core of compass navigation. Entire books exist on advanced techniques, but for beginner day hikes, this covers what you need.
Trail markers worth knowing
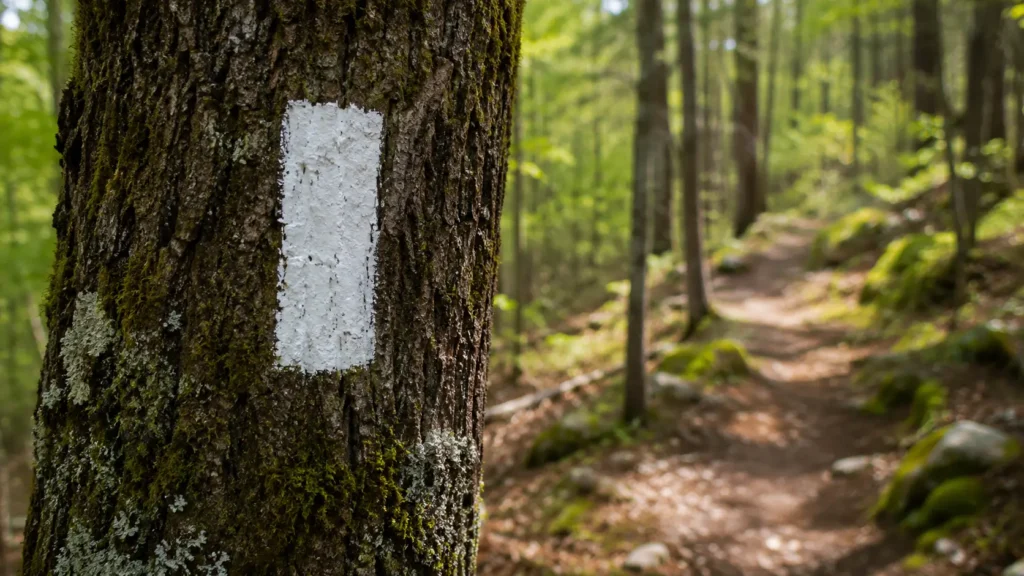
Most established trails use a system of markers to keep hikers on track. Learning to recognize these takes the guesswork out of forks and junctions.
- Blazes — painted marks on trees, usually a single color specific to that trail
- Cairns — small stacked piles of rocks, common above the treeline where there are no trees to mark
- Trail junction signs — wooden or metal signs at intersections, usually showing distances
- Double blazes — two marks stacked together usually signal an upcoming turn
Check for the next marker every few minutes. If you haven’t seen one in a while and the path feels uncertain, that’s your cue to stop and check your map rather than push forward hoping it’ll become clear.
What to do if you think you’re lost
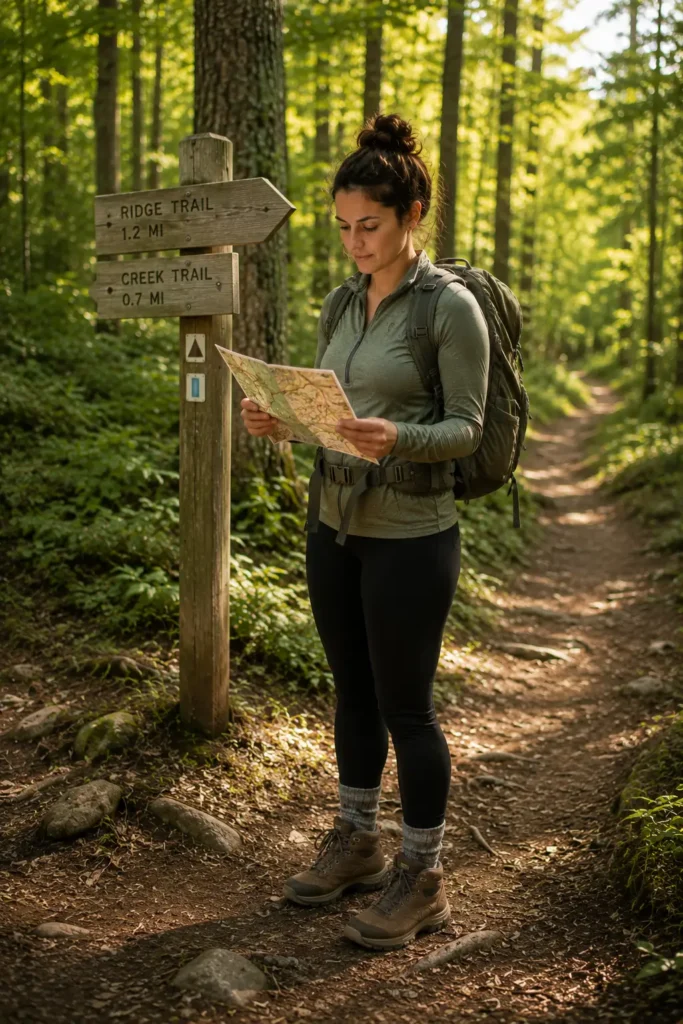
This is the part most guides skip, and it’s the part that actually matters most for peace of mind.
- Stop walking immediately. Continuing in an uncertain direction usually makes things worse, not better
- Check your map and try to identify your last confirmed landmark
- Look for catching features — a road, river, ridgeline or lake that you know is on one side of your position
- If you have signal, use your phone’s GPS, even briefly, to confirm your location
- If you genuinely cannot reorient, retrace your steps back to the last point you were certain of, rather than guessing forward
- If you’re truly stuck and it’s getting late, stay where you are, stay visible, and use any emergency contact method you have
For more on hiking alone safely, see our solo hiking safety guide.
Most situations resolve at the very first step — stopping and checking your map calmly rather than panicking and continuing to walk.
Before every hike: a simple navigation checklist
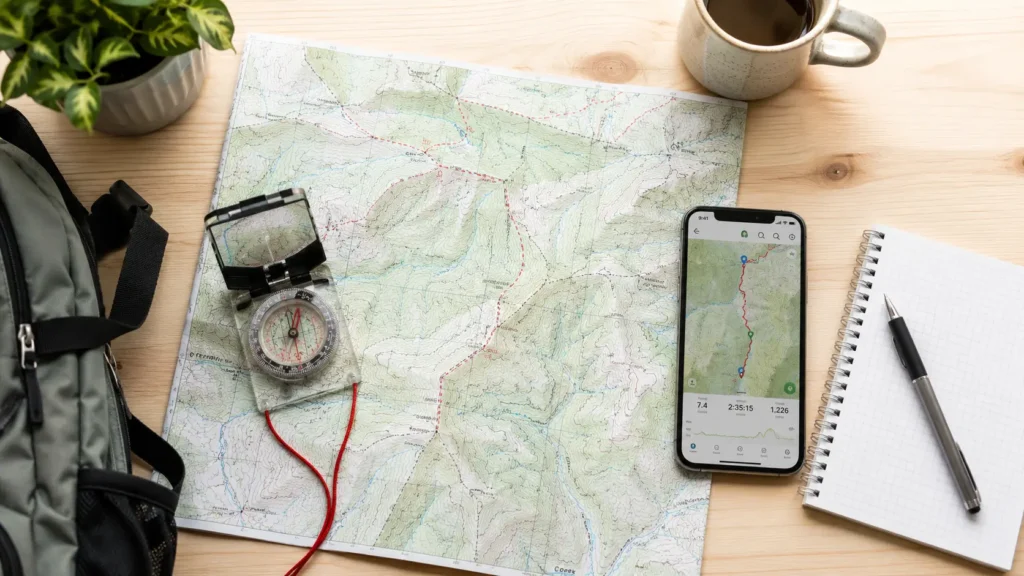
- Download the offline trail map on AllTrails or Gaia GPS
- Study the route at home — note forks, water crossings and major elevation changes
- Bring a paper map as backup if the trail is remote or poorly marked
- Pack a basic compass even if you don’t expect to need it
- Tell someone your planned route and expected return time
- Check your map every 20–30 minutes on trail, even when you feel confident
For more foundational advice, see our beginner hiking tips for women.
Final thoughts
Navigation confidence isn’t about memorizing every compass technique in a backcountry manual. It’s about understanding the basics well enough that you’re not relying entirely on a single app, and knowing what to do in the moment you feel unsure.
Start by practicing on a familiar trail — orient your map, follow a simple bearing, notice the landmarks. The skill builds quickly once you’ve done it once or twice in a low-stakes setting. The goal isn’t to never feel uncertain on the trail. It’s to know exactly what to do when you do.
FAQs
Start by orienting your map — place your compass on the map with the direction-of-travel arrow pointing toward the top, rotate the bezel until N aligns with that arrow, then turn your body until the magnetized needle sits inside the orienting arrow. Your map now matches the direction you’re facing, which makes identifying landmarks much easier.
For most established trails, an app like AllTrails with offline maps is enough. But a compass is worth carrying as backup — phones die, signal disappears, and batteries drain faster in cold weather. Knowing basic compass skills means you’re never fully dependent on a single device.
Stop walking immediately rather than continuing in an uncertain direction. Check your map for your last confirmed landmark, look for catching features like a road or river, and use your phone’s GPS briefly if you have signal. If you can’t reorient, retrace your steps back to your last known point rather than guessing forward.
Contour lines show elevation. When they’re close together, the terrain is steep. When they’re spread apart, the terrain is flat or gentle. You don’t need to be an expert reader — just recognizing tightly packed lines as a warning sign for a tough climb is genuinely useful for trip planning.
Start on a familiar trail you’ve hiked before. Practice orienting your map and following a simple bearing toward a landmark you can already see. Low-stakes practice on known terrain builds real confidence quickly, before you ever need these skills somewhere unfamiliar.

Intermediate hiker sharing real trail experience — honest gear picks, beginner-friendly guides, no filler.