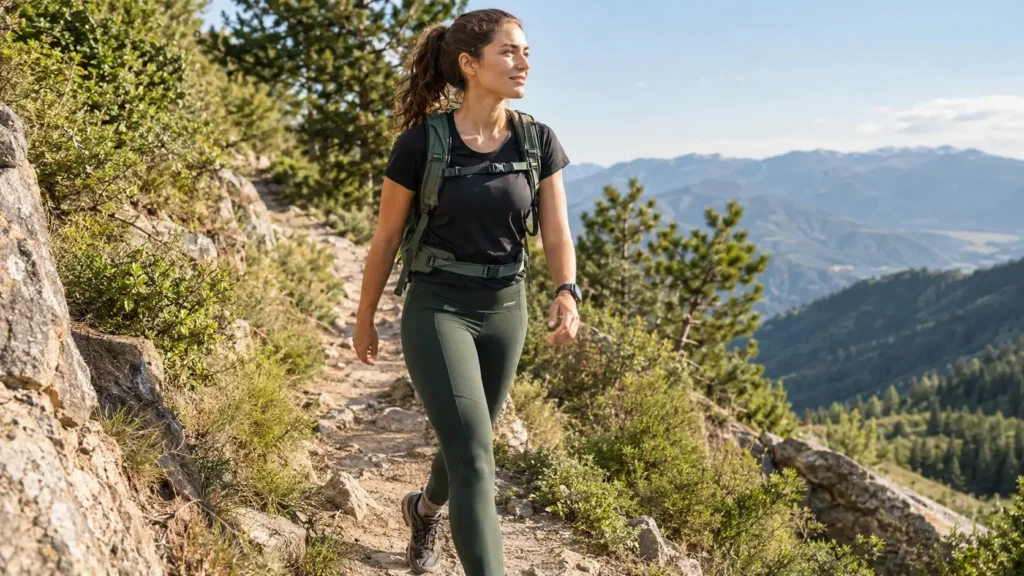
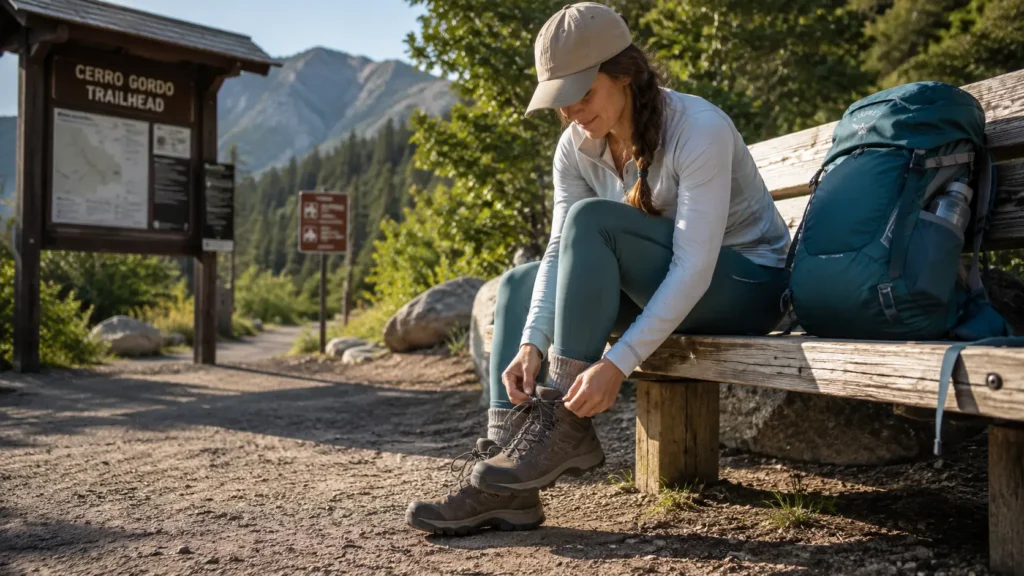
Most beginner women buy their first pair of hiking boots, put them on, and head straight to the trail. I know because I did exactly this. I bought my first proper hiking boots on a Thursday, wore them for the first time on a Sunday for a 12km hike, and spent the following week with blisters on both heels and a bruised little toe.
The boots weren’t the problem. They were a good pair, well-fitted, the right size. The problem was skipping the break-in process — the few weeks of deliberate wear that shapes the boot to the specific geometry of your foot, softens the materials in the right places, and identifies any pressure points before you’re three hours from the car.
This guide covers exactly what to do in the weeks between buying your hiking boots and wearing them on a proper trail — what the process looks like, how long it actually takes, what to expect along the way, and what to do if something feels wrong.
Do you actually need to break in hiking boots?
For most hiking boots — yes. The degree of break-in required depends on the boot construction:
- Full leather hiking boots: the longest break-in, typically 4-6 weeks of consistent wear. Leather stiffens around a last (boot shape) and needs sustained wear to mould to your specific foot.
- Synthetic upper boots (most modern hiking boots): 2-4 weeks for most women. Materials are more flexible from the start but still need to shape to your foot’s pressure points.
- Trail runners and lightweight hiking shoes: minimal break-in required, often just a few short walks. The flexible construction means they adapt quickly.
The tell for whether a boot needs breaking in: if it feels rigid, stiff or has any areas of pressure when you first put it on, it needs breaking in. A boot that feels immediately soft and flexible from day one probably doesn’t require much. Most proper hiking boots with midsole and rand construction need the process.
Is it normal for hiking boots to hurt at first?
Some discomfort in new hiking boots is completely normal — and different from pain that means the boot is the wrong size or shape for your foot.
Normal in new hiking boots: slight stiffness across the toe box, mild pressure at the heel collar (the padded rim around the ankle), a general sense that the boot is holding your foot more firmly than your usual shoes. These sensations ease and disappear over the break-in process as the materials soften and shape.
Not normal — signs the boot may be wrong for your foot: sharp pressure or pinching at a specific point, numbness in toes, heel that lifts with every step (heel slippage), pain across the width of the foot that suggests the boot is too narrow. These aren’t break-in problems — they’re fit problems that won’t resolve with wearing.
If you bought your boots from a specialist shop and had them properly fitted, trust that process and proceed with break-in. For a full guide to choosing the right hiking boots for beginner women, see the best hiking boots for women beginners. If you ordered online and something feels genuinely wrong rather than just stiff, consider getting them checked before committing to the break-in process.
The step-by-step break-in process

| Stage | What to do and what to expect |
| Days 1–3 Around the house | Wear your new boots around the house for 30–60 minutes per day. No socks from a drawer — wear the hiking socks you’ll actually use on trail. Walk up and down stairs, through different rooms, on different surfaces. You’re looking for: where the boot feels stiff, where it contacts your foot most firmly, any early hot spots. Pay attention to the heel — heel slippage (your heel lifting with every step) is a fit issue to address now, not later. |
| Days 4–7 Short pavement walks | Move outside for 30–45 minute walks on pavement or easy flat paths. Still in your hiking socks. Wear the boots with your pack if you’ll be hiking with one — weight changes how a boot sits on your foot and where pressure falls. Check your feet for redness or early hot spots at the end of each walk. If you find one, cover it with Leukotape before the next walk, not after. |
| Week 2 Longer walks, add hills | Increase to 45–60 minute walks, now including gentle hills or stairs where possible. The flex point at the ball of your foot should be softening noticeably. The heel collar should be breaking in around your ankle shape. Any pinching or pressure points that haven’t eased by now are worth paying attention to — they may need addressing with different lacing rather than just more wear. |
| Week 3 First trail hike (short) | Your first actual trail hike in the new boots — keep it short (under 2 hours) and easy. Choose a trail you know, ideally near the car, so you can turn back if anything develops. Carry your blister kit. Check your feet at every break. This is not the hike to test the boots on — it’s the hike to see how the break-in is progressing on actual trail surface. |
| Week 4+ Gradually increase | Build trail hike length and elevation gradually. By week four, most synthetic hiking boots are comfortable for 3-4 hour day hikes. Full leather boots may need another 1-2 weeks. The boots should feel noticeably more comfortable with each hike as the final shaping happens on real trail. |
What actually speeds up the break-in process
A few things genuinely help — and a few things don’t work despite popular advice:
What works
- Consistency — wearing the boots for 30–45 minutes daily is more effective than occasional long wears with gaps between. Frequent shorter sessions shape the boot faster than infrequent longer ones.
- Wearing them with the right socks — always wear the hiking socks you’ll actually use. Thin everyday socks give a false impression of fit and break-in progress.
- Wearing them with weight — if you’ll be hiking with a daypack, wear it during some break-in walks. Weight changes your gait and where pressure falls in the boot.
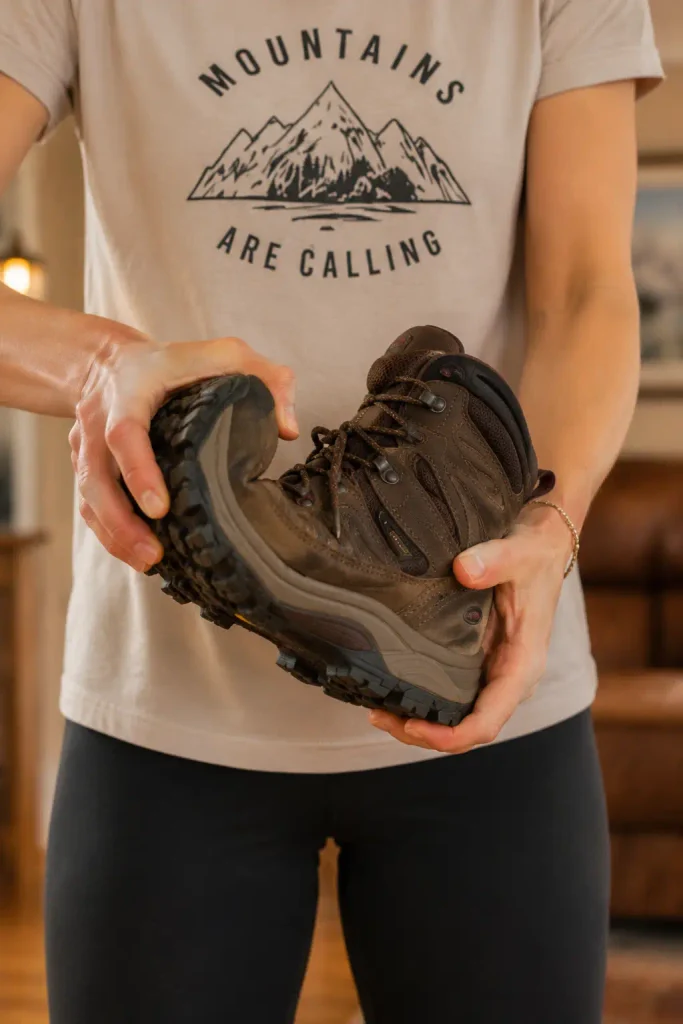
- Targeted flexing — bending the sole at the ball of the foot repeatedly by hand helps soften the flex point. Doing this for a few minutes while watching TV genuinely speeds up the most important part of boot break-in.
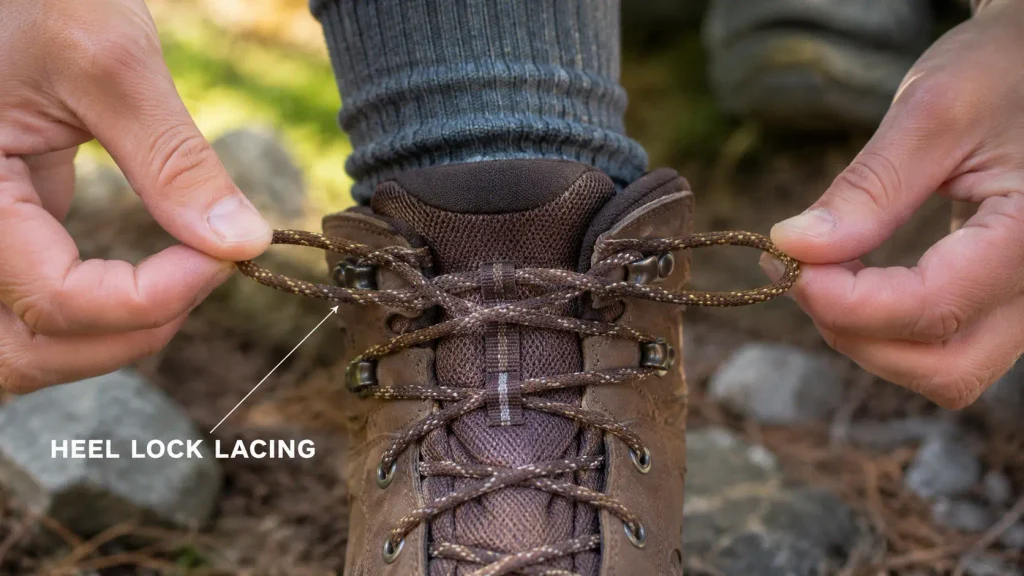
- Heel lock lacing — if you have heel slippage, learn the heel lock lacing technique. Loop the lace through the top eyelets before tying to lock the heel in place. This often fixes slippage without it being a fit problem.
What doesn’t work
- Soaking in water and wearing until dry — this can damage the waterproof membrane and adhesives in modern hiking boots. It was old advice for pure leather boots and doesn’t apply to modern constructions.
- Wearing with thick extra socks to ‘fill space’ — if your boot needs thick socks to fit, it’s too big. Extra socks create pressure points and don’t properly break in the boot.
- Heat guns or hair dryers — can damage synthetic materials and waterproof membranes. Not recommended for modern boots.
- Wearing for a full long hike immediately — the most common mistake and the most common cause of blister disasters. The process exists for a reason.
How long does it take to break in hiking boots?
The honest answer: 2–4 weeks of consistent wearing for most modern synthetic hiking boots. Full leather boots typically take 4–6 weeks. Trail runners and lightweight hiking shoes need very little — sometimes just a few short walks.
The right question is less about time and more about feel. Your boots are broken in when: the heel collar feels comfortable without rubbing, the toe box has enough room for your toes to move on descents, the flex point bends naturally with your foot, and there are no areas of pressure or pinching after an hour of wear. That’s the test — not a calendar.
What to do if your boots are still hurting after two weeks
Two weeks of consistent wearing with no improvement in a specific pressure point is a signal to investigate rather than push through:
- Pressure across the width of the foot: the boot may be too narrow for your foot shape. Some brands run wider than others — Merrell and Keen tend to be wider, Salomon runs narrower.
- Toe hitting the front on descents: the boot may be too short. There should be a thumb’s width of space between your longest toe and the end of the boot.
- Persistent heel slippage: try the heel lock lacing technique before concluding it’s a fit issue. If lacing doesn’t fix it, the boot may be too wide at the heel.
- Hot spot in the same spot every time: try lacing differently to relieve pressure in that area. Loosening the section of lace directly over the hot spot often helps. If not, an insole replacement may change the fit enough to resolve it.
If you’ve tried adjustments and a specific pain point genuinely hasn’t improved after three weeks, the boot may simply not be the right shape for your foot. It’s better to know this before a long hike than after.
Lacing techniques that help during break-in
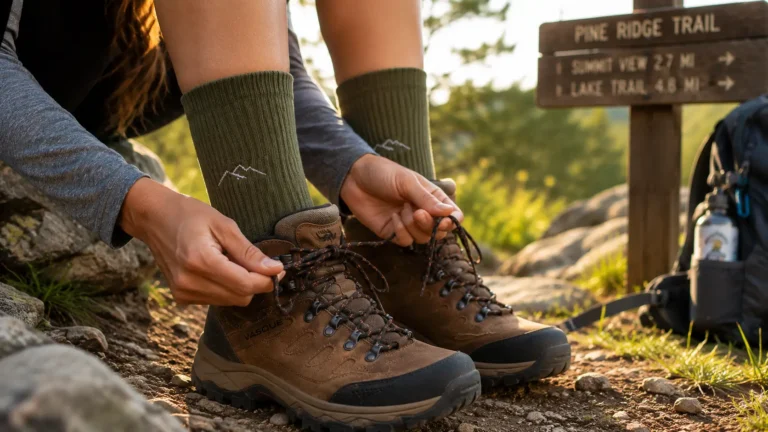
Heel lock (for heel slippage)
Thread the lace through both top eyelets to create a loop on each side, then cross the laces through the opposite loop before tying normally. This creates extra friction at the ankle that holds the heel in place. Most women with heel slippage find this completely solves the problem without the boot being a poor fit.
Window lacing (for hot spots across the instep)
Skip the eyelets directly above the pressure point — go straight from the eyelet below to the eyelet above, creating a ‘window’ in the lacing. This removes pressure from that exact point without affecting the rest of the lace tension. Useful for anyone who gets a pressure point across the top of the foot.
Toe relief lacing (for toe box pressure)
Start the lace from only one side of the bottom eyelets rather than both, creating an asymmetric base tension that gives the toe box slightly more room on the tighter side. Useful for women with one foot slightly wider than the other.
What to carry during break-in walks
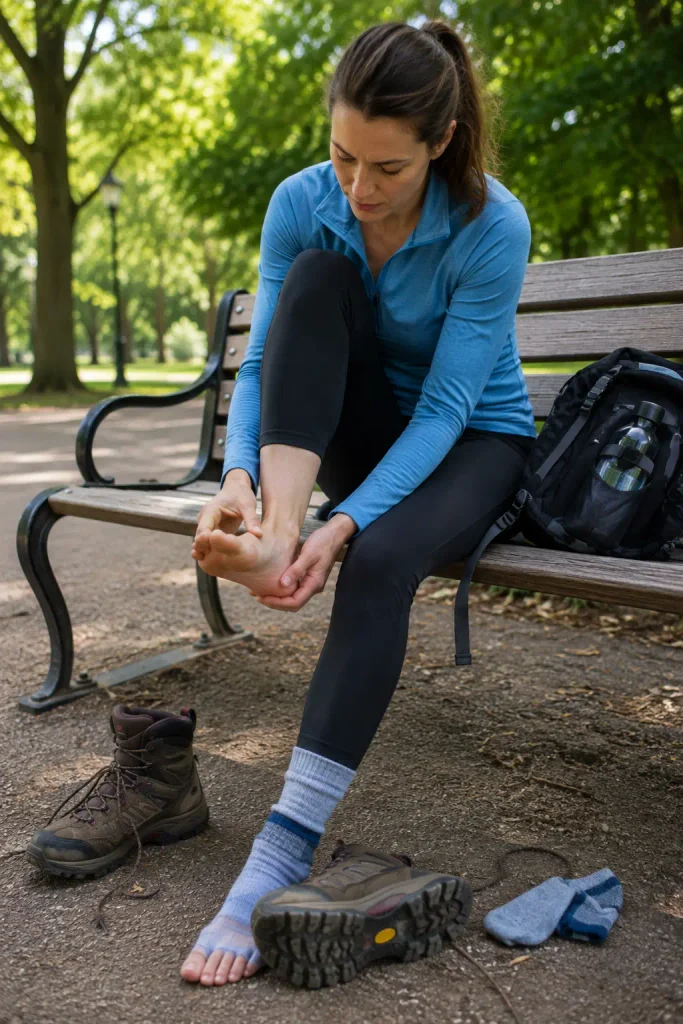
During break-in walks — both pavement and trail — carry a small kit so you can deal with hot spots the moment they appear rather than walking through them:
- Leukotape P or Compeed blister plasters — apply at the first sign of redness, before a blister forms
- Small scissors for cutting tape
- Spare socks — a fresh pair makes a real difference if your feet get warm and sweaty during longer break-in walks
For the complete guide to preventing and treating hiking blisters, see how to prevent blisters while hiking.
Final thoughts
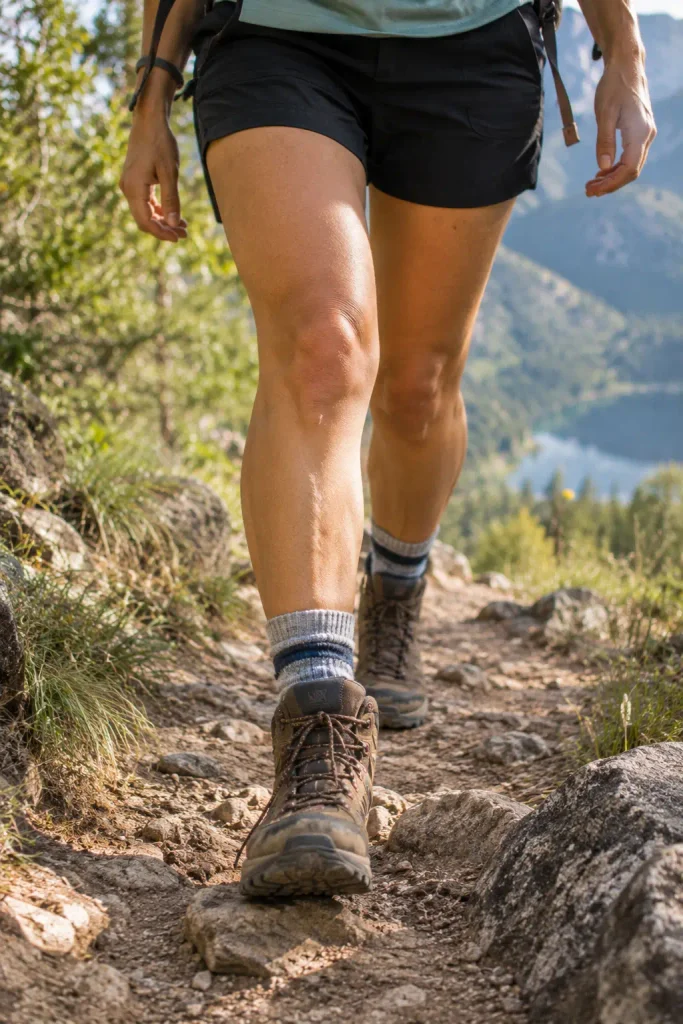
Breaking in hiking boots is one of those things that feels like an unnecessary step until you skip it and suffer the consequences. The process is simple — consistent daily wear, increasing duration and difficulty gradually, paying attention to what your feet are telling you — and the payoff is boots that feel like they were made for your feet by the time you need them on a proper trail.
Most of the blisters beginner women get on their first significant hikes are directly caused by skipping or rushing this process. Three weeks of daily wearing prevents the kind of first-hike misery that puts people off hiking entirely.
Buy the boots, start the process, and by the time you’re ready for your first real trail day, your feet will be thanking you.
FAQs
Most modern synthetic hiking boots take 2–4 weeks of consistent daily wearing to break in properly. Full leather boots typically need 4–6 weeks. Lightweight trail runners and hiking shoes need very little — sometimes just a few short walks. The right measure isn’t time but feel: your boots are broken in when the heel collar, toe box and flex point all feel comfortable with no pressure points after an hour of wear.
Mild stiffness and firmness in new hiking boots is completely normal and will ease during break-in. What’s not normal is sharp pinching at a specific point, numbness in toes, or pain that doesn’t improve with repeated wearing. If your boots feel genuinely painful rather than just stiff and new, the fit may be wrong rather than just requiring break-in time. Get them checked before committing to the process.
The most effective way to speed up break-in is consistency — wearing the boots for 30–45 minutes daily rather than occasional longer sessions. Wearing with your actual hiking socks and a loaded daypack accelerates the process. Manually flexing the sole at the ball of the foot helps soften the key flex point faster. Avoid the internet advice about soaking in water or using heat — both can damage modern boot materials and waterproof membranes.
Yes, for any hike longer than an hour or two. Skipping break-in on a new pair of hiking boots is the most common cause of blister disasters for beginner women. The process shapes the boot to your foot, softens pressure points and identifies fit issues before you’re hours from the trailhead. Three weeks of daily wearing before a significant hike is a minimum recommendation for most synthetic boots.
New hiking boots should feel firm and supportive, not tight. Your toes should be able to move freely in the toe box, and there should be roughly a thumb’s width of space between your longest toe and the end of the boot when standing. The heel should sit securely without slipping. If the boots feel genuinely tight — compressing toes or squeezing the width of the foot — they may be the wrong size or width, which break-in won’t fix.

Intermediate hiker sharing real trail experience — honest gear picks, beginner-friendly guides, no filler.