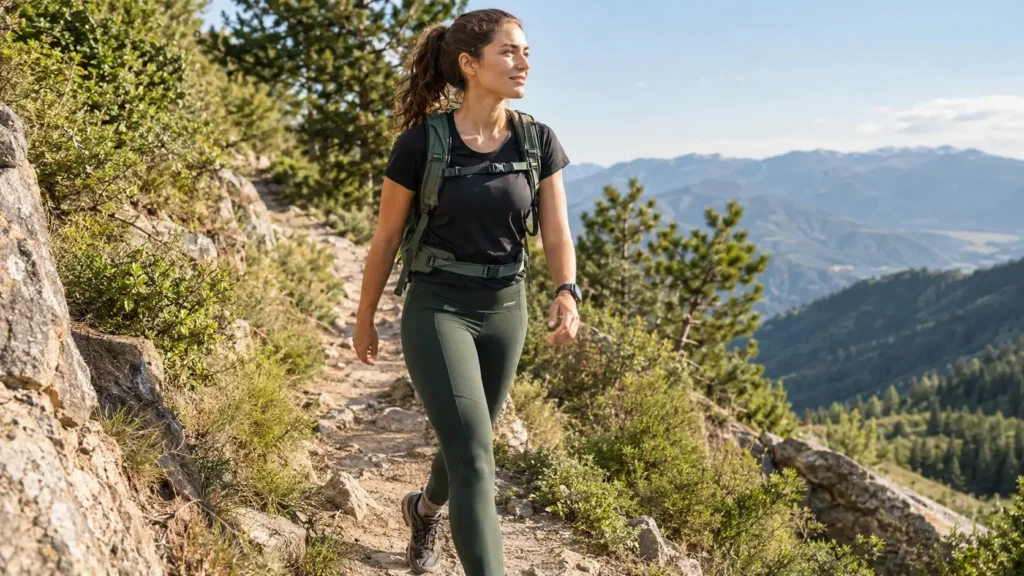
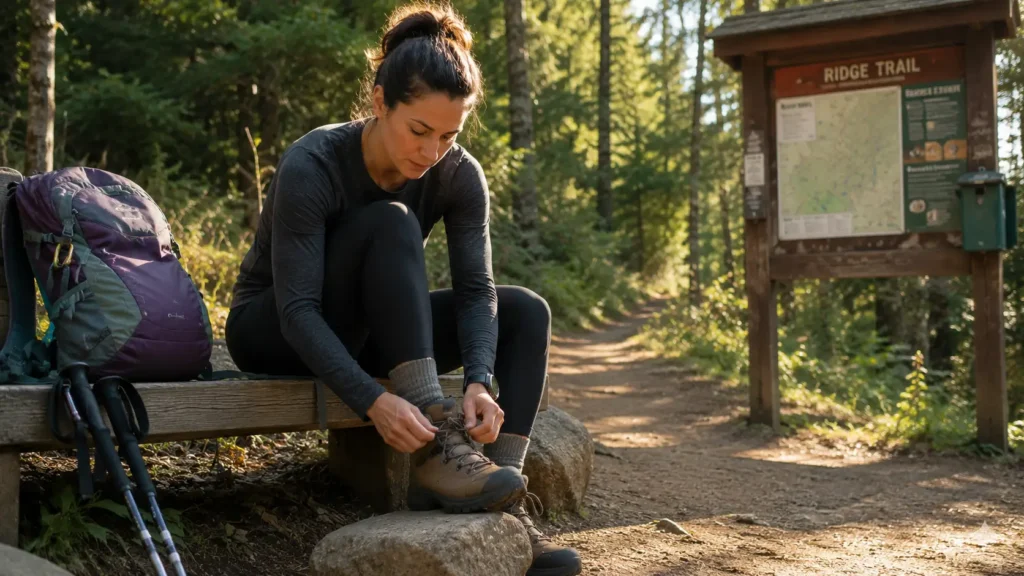
Blisters are the most common hiking injury — and almost entirely preventable. Most hikers who get them made the same handful of mistakes: wrong socks, boots that weren’t broken in, or ignoring a hot spot until it was too late.
This guide covers everything that actually prevents hiking blisters — not just the obvious advice about socks (though that matters too), but the specific things most guides skip: why cotton is only part of the problem, what vaseline actually does, when to stop and tape a hot spot, and how to treat a blister on trail if one forms anyway.
Get this right and blisters become a problem that happens to other people on the trail.
What actually causes blisters — and why it matters
Most people think blisters are caused by wet socks or tight boots. That’s partially true but misses the main mechanism: friction combined with moisture and heat, which causes the upper layers of skin to separate and fill with fluid.
Three things have to combine to create a blister:
- Friction — repetitive rubbing in a concentrated spot
- Moisture — sweat softens skin, making it more vulnerable to damage
- Heat — warm feet swell slightly, changing how boots fit throughout a hike
Remove any one of those three and blister risk drops dramatically. Most prevention strategies target all three simultaneously — which is why the complete approach works better than any single fix.
Before you hike: prevention starts at home
Get the right boot fit
The most important factor in blister prevention isn’t socks or vaseline — it’s boot fit. A boot that fits correctly gives your foot security without pressure points. Here’s what correct fit looks like:
- Thumb’s width of space between your longest toe and the end of the boot — standing up, not sitting
- Heel doesn’t lift when you walk — heel slippage causes heel blisters on every single step
- No pressure points across the width of the foot
- Toes don’t hit the front when walking downhill — this causes toe blisters on descents
If you’re wearing new boots, they need breaking in before a long hike. Wear them on short walks first — around the house, to the shops, on a 30-minute walk. The first long trail hike should never be in brand new boots.
Choose the right socks — and never wear cotton
Cotton socks are the single biggest cause of hiking blisters for beginner women. Cotton holds moisture against your skin. On a hike, your feet sweat. Wet skin is softer skin — more vulnerable to friction damage. The combination guarantees blisters on longer hikes.
Merino wool or synthetic hiking socks wick moisture away from your skin instead of holding it there. For a full guide to choosing the right hiking socks, including honest picks at every budget, see the best hiking socks for women. The difference in blister risk is significant — this one change prevents more blisters than almost anything else.
Sock fit also matters. A sock that bunches or wrinkles inside the boot creates friction points where the wrinkle sits. Make sure your socks fit smoothly with no excess material.
Consider liner socks for blister-prone feet
A thin liner sock worn underneath your main hiking sock creates a double layer system — friction occurs between the two sock layers instead of directly against your skin. This is particularly useful for women who get blisters in the same spots repeatedly. Darn Tough and Injinji both make liner socks designed for this.
Apply vaseline or lubricant to known problem areas
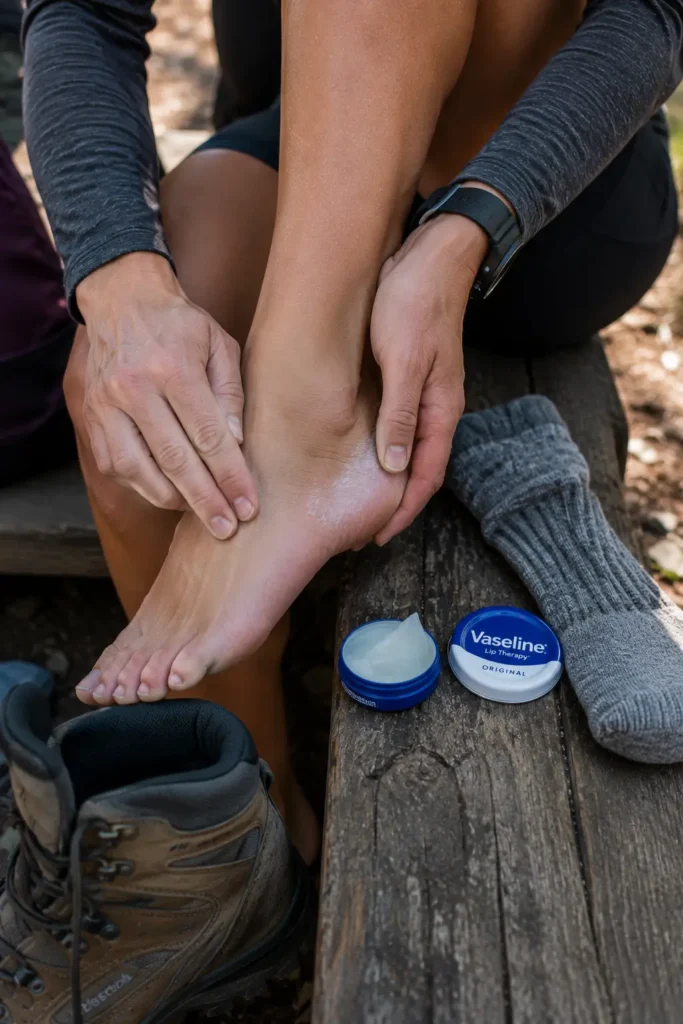
Petroleum jelly (vaseline) applied to blister-prone areas before a hike reduces friction by creating a slippery surface between skin and sock. Common spots: heels, little toe edges, ball of foot, inside of big toe.
Apply a thin layer directly to clean dry skin before putting socks on. Reapply at any long break if you’re doing a particularly long hike. One note: vaseline does get into socks, which can make them harder to wash — a small price for blister-free feet.
Bodyglide anti-chafe balm is a cleaner alternative that does the same job and doesn’t affect socks.
Break in new boots properly
New boots — especially leather or stiff synthetic uppers — haven’t yet moulded to the shape of your foot. If you’re still choosing your first hiking boots, the guide to the best hiking boots for women beginners explains exactly what to look for in terms of fit, material and budget. The break-in process softens and shapes the boot so it moves with your foot rather than against it.
- Week 1: wear around the house 30–60 minutes daily
- Week 2: short walks on pavement, 30–60 minutes
- Week 3: first trail hike, 1–2 hours maximum
- Only after that: longer hikes
Skipping this process is one of the most avoidable causes of serious blisters on a hike.
On the trail: recognising and responding to hot spots
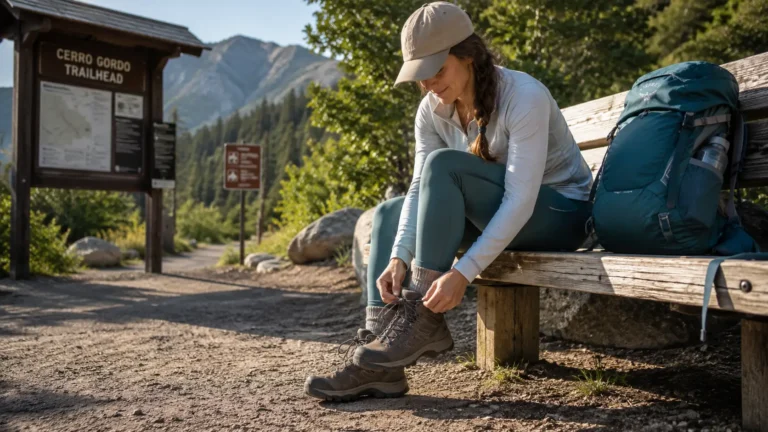
A hot spot is the stage before a blister — a warm, red, slightly sore patch of skin that’s telling you friction is building. Most hikers ignore hot spots and keep walking. This is the single biggest mistake in blister prevention.
The moment you feel a hot spot — stop. Take your boot and sock off. Look at the area. Even a mildly red patch is a signal to act immediately.
What to do when you find a hot spot
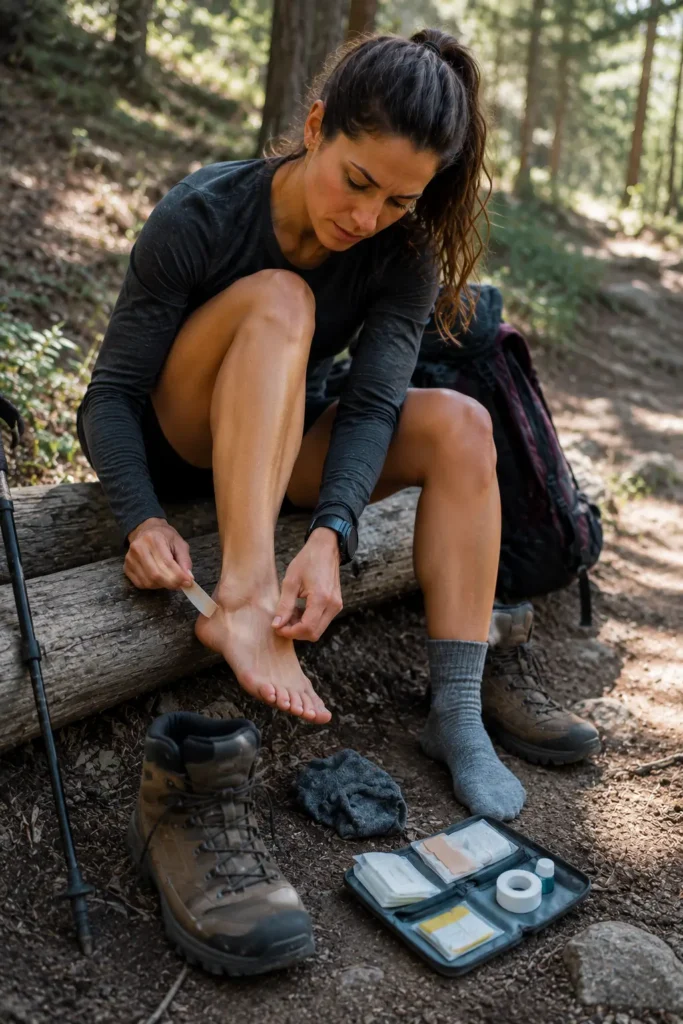
- Dry the area thoroughly — moisture makes everything worse
- Apply a blister prevention patch or tape over the hot spot before it becomes a blister
- Check your sock for wrinkles or bunching — straighten it before putting back on
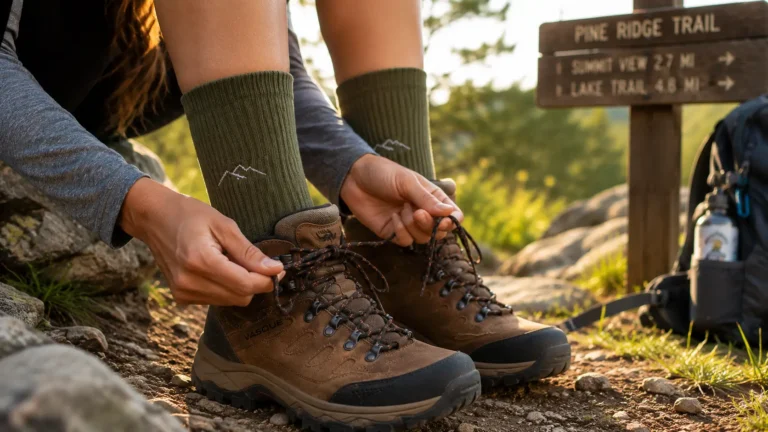
- Lace your boot slightly differently if the hot spot is from pressure — looser across the foot, tighter at the heel
- Continue hiking — but check the area again at the next break
A five-minute stop to deal with a hot spot prevents an hour of pain and a potentially ruined hike. This is not optional.
Adjust lacing for different terrain
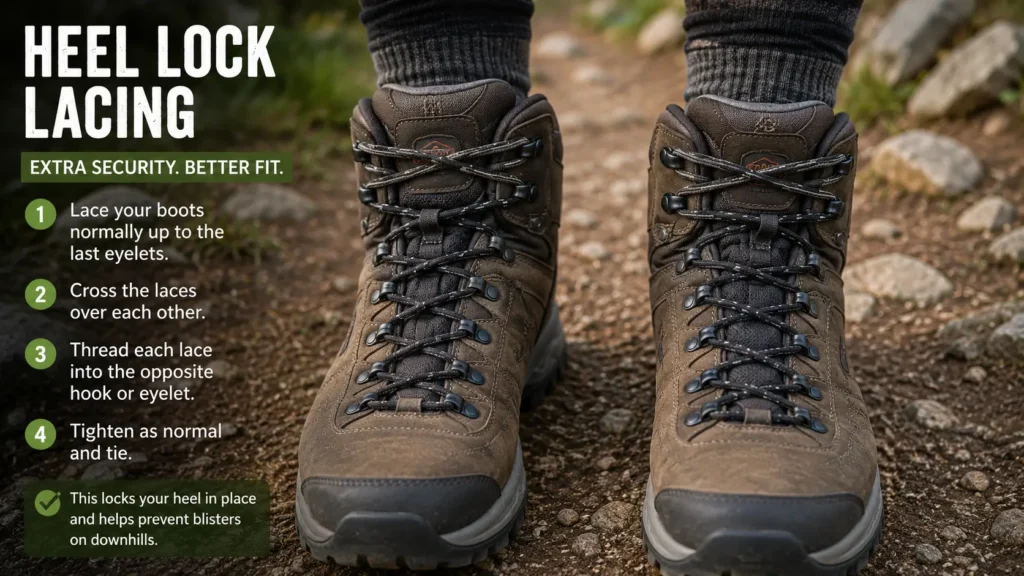
Most beginner women lace boots the same way for the entire hike. Changing lace tension for terrain changes makes a real difference:
- On ascents: lace normally — your foot needs to move naturally
- On descents: tighten the top laces at the ankle — this prevents your toes from hitting the front of the boot and stops heel lift, both of which cause blisters on the way down
- If you get a hot spot across the instep: loosen the middle section of laces to relieve pressure
Take your socks off at breaks
Airing your feet at rest stops reduces moisture accumulation and gives you the chance to check for hot spots before they develop. Even 5 minutes of air time makes a difference on longer hikes. If you carry a spare pair of socks, swapping to a fresh pair at the halfway point of a long hike dramatically reduces blister risk for the second half.
What to pack for blister prevention
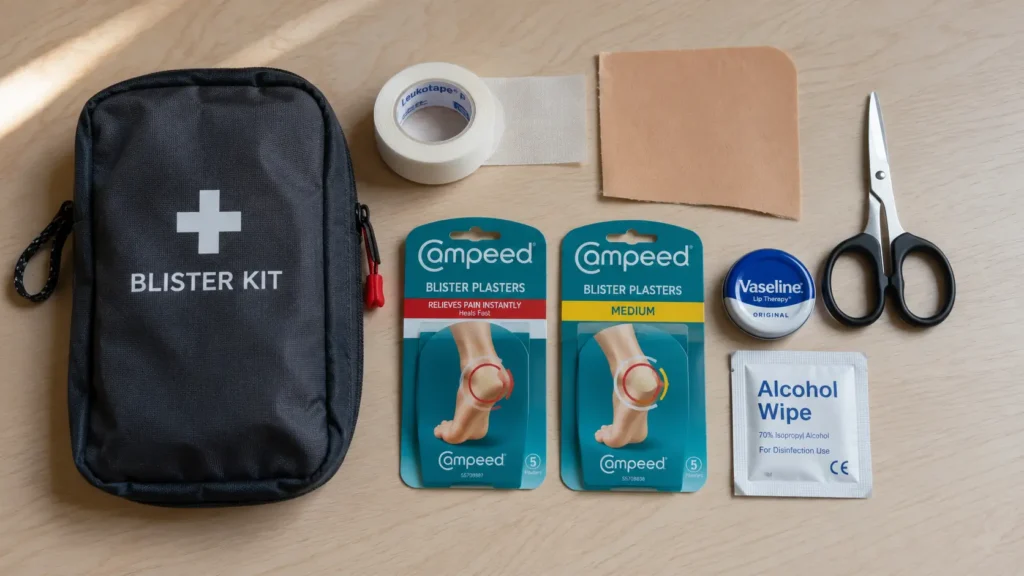
A small blister kit takes up almost no space and can save a hike. Here’s what Sophie packs:
- Leukotape P — the strongest hiking tape, stays on sweaty feet unlike regular plasters. Cut strips before the hike for easier trail application
- Moleskin — classic blister padding, cut a doughnut shape around existing blisters to remove pressure
- Compeed blister plasters — good ready-to-use option that stays on for days
- Small pair of scissors — for cutting tape and moleskin on trail
- Vaseline or Bodyglide — for reapplication on long hikes
- A blunt needle and alcohol wipe — only if you need to drain a blister that’s causing serious pain
Does vaseline prevent blisters? Honest answer
Yes — vaseline reduces friction by lubricating the skin surface, which is one of the three causes of blisters. Applied before a hike to known problem areas, it genuinely helps.
What it doesn’t do: eliminate blister risk entirely. If your boots don’t fit, if you’re wearing cotton socks, or if you ignore a hot spot, vaseline alone won’t save you. It’s one layer of prevention, not the whole system.
The most effective blister prevention uses multiple layers: correct boot fit, moisture-wicking socks, lubricant on problem areas, and hot spot response on trail.
How to treat a hiking blister if one forms
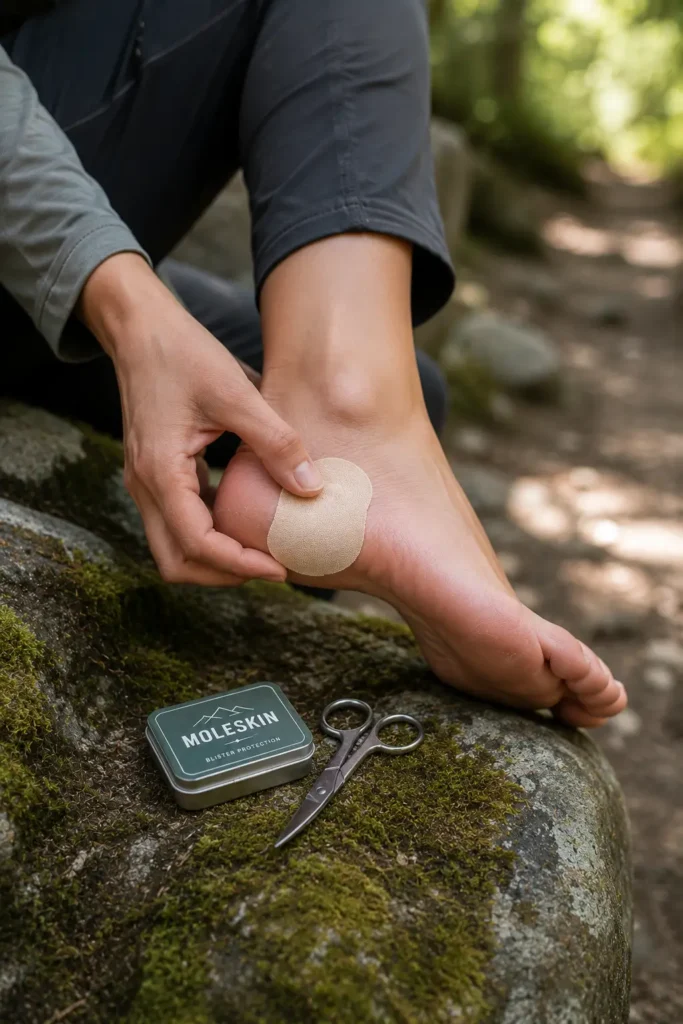
Sometimes blisters happen despite good preparation — especially on very long hikes or in hot weather. Here’s what to do:
Small blister (pea-sized or smaller)
- Don’t drain it — the fluid protects the damaged tissue underneath
- Cut a doughnut-shaped hole in moleskin and centre it over the blister to remove direct pressure
- Cover with Leukotape or a Compeed plaster
- Continue hiking — monitor it at every break
Large painful blister
- If the blister is causing enough pain that you can’t hike comfortably, it may need draining
- Clean the area and sterilise a needle with an alcohol wipe
- Pierce the edge of the blister — not the centre — to drain the fluid
- Don’t remove the blister roof — it protects the raw skin underneath
- Apply antibiotic cream, cover with a Compeed plaster, continue hiking
- Monitor for signs of infection: increasing redness, warmth, pus, red streaks
Signs a blister needs medical attention
- Red streaks spreading from the blister — sign of infection spreading
- Pus that is cloudy, yellow or green
- Increasing pain and swelling after treatment
- Fever — systemic infection sign
These are uncommon on day hikes but worth knowing. When in doubt, clean the area, cover it, and get it looked at when you’re back.
The blister prevention checklist
Before every hike:
- Boots broken in and fitting correctly ✓
- Merino or synthetic socks — no cotton ✓
- Vaseline or Bodyglide applied to known problem spots ✓
- Blister kit in daypack ✓
- Spare socks packed for longer hikes ✓
On trail:
- Check feet at every break ✓
- Act immediately at the first sign of a hot spot ✓
- Adjust lacing for terrain changes ✓
- Air feet at rest stops ✓
Final thoughts
Hiking blisters are almost entirely preventable. The combination of well-fitted broken-in boots, moisture-wicking socks, a little vaseline on problem spots, and immediate response to hot spots on trail eliminates the vast majority of hiking blister risk.
The one thing most beginner women don’t do: stop and deal with a hot spot the moment they feel it. Five minutes of trail-side prevention is worth two hours of blister pain. Your feet are the only part of your gear you can’t replace mid-hike — look after them. For a complete look at all the footwear decisions a beginner woman needs to make, the hiking shoes vs boots guide covers when to choose each.
FAQs
Hiking blisters are caused by friction combined with moisture and heat. Repetitive rubbing in a concentrated spot — from poorly fitting boots, wrinkled socks, or heel slippage — creates microscopic skin tears that fill with fluid. Cotton socks make it worse by holding moisture against the skin, softening it and increasing friction damage.
Yes — petroleum jelly applied to known blister-prone areas before a hike reduces friction by lubricating the skin surface. It works best as part of a complete prevention approach: correct boot fit, moisture-wicking socks, vaseline on problem spots, and hot spot response on trail. Vaseline alone won’t prevent blisters if your boots don’t fit.
Stop immediately — don’t walk on it hoping it will go away. Take your boot and sock off, dry the area, and cover it with tape or a blister plaster. Check your sock for wrinkles. A five-minute stop to treat a hot spot prevents a blister forming and potentially ruining the rest of your hike.
Small blisters — pea-sized or smaller — should not be popped. The fluid protects the damaged tissue. Cover with moleskin and Leukotape and continue hiking. Large painful blisters that prevent comfortable hiking may need draining at the edge (not the centre) with a sterilised needle, but leave the blister roof intact and cover with antibiotic cream and a blister plaster.
Merino wool or synthetic hiking socks are the best choice for blister prevention. The Darn Tough Hiker Micro Crew and REI Co-op merino hiking crew are both excellent options. The most important rule: never wear cotton socks hiking. Cotton holds moisture against your skin, which dramatically increases blister risk.

Intermediate hiker sharing real trail experience — honest gear picks, beginner-friendly guides, no filler.