The first time I tried to choose a hiking trail on AllTrails, I spent forty minutes scrolling, second-guessing every option, and eventually closed the app without making a decision. There were hundreds of trails. Some said easy, some said moderate. Some had 200m of elevation gain, some had 600m. I didn’t know what any of that meant for someone who’d never hiked before.
Trail selection is the most important decision you make before any hike — and it’s the one beginners most often get wrong, usually by picking something too hard too soon. This guide gives you a clear framework for choosing the right trail every time, starting from your very first hike.
Why Trail Selection Matters More Than Anything Else
The right trail for your first hike makes hiking feel accessible, enjoyable and something you want to do again. The wrong trail — too long, too steep, too remote, too technically demanding — makes hiking feel like an ordeal you’d rather not repeat.
Most beginner women who have a bad first hiking experience didn’t have a bad experience because hiking is hard. They had a bad experience because they chose a trail that didn’t match where they were as a hiker. That’s entirely fixable with better trail selection.
The rule: whatever you think you can handle for your first hike, choose one level easier. You can always go harder next time. You can’t undo a trail that’s beaten you.
Understanding Trail Difficulty Ratings
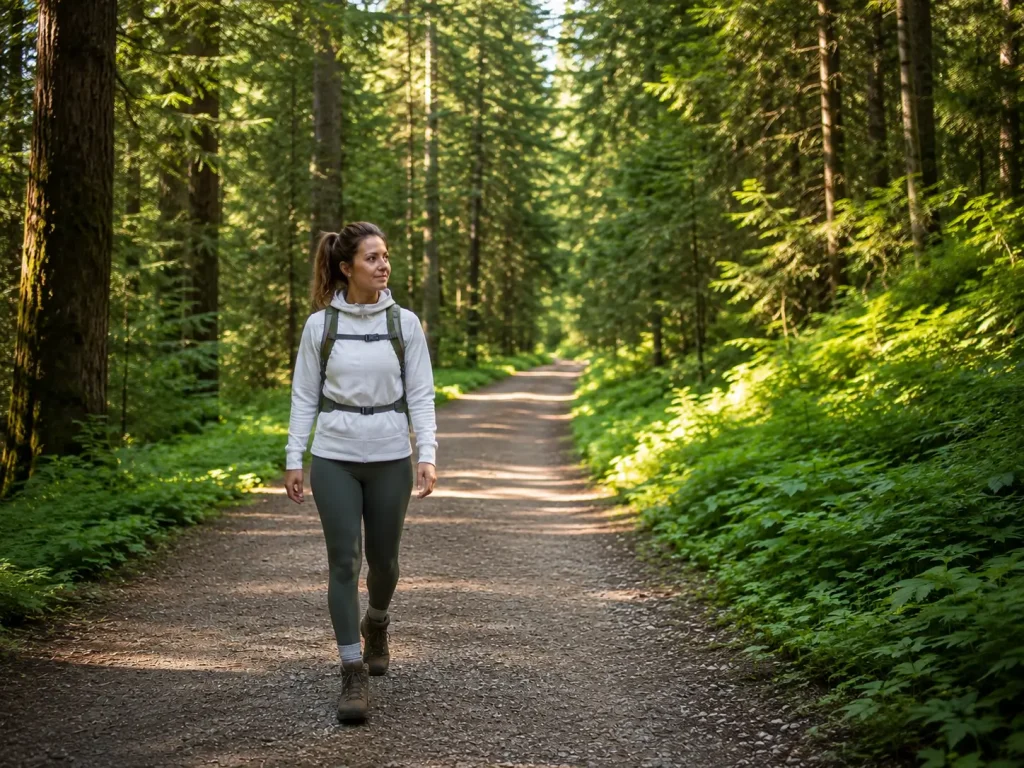
Difficulty ratings are the first thing most beginners look at and the thing they most often misread. Here’s what they actually mean.
Easy
Well-maintained path, relatively flat, short distance, suitable for all fitness levels. Easy does not mean boring. Some of the most beautiful trails in the world are rated easy. For your first hike, easy is the correct choice — full stop.
Moderate
Some elevation gain, possibly uneven terrain, longer distance. Requires basic fitness and some hiking experience. Moderate on AllTrails can vary enormously — a moderate trail in flat countryside is very different from a moderate trail in the mountains. Always read the description, not just the rating.
Hard / Difficult
Significant elevation gain, technical terrain, longer distances, requires good fitness and experience. Not for beginners. Not for your second or third hike either. Hard trails earn their rating.
The Problem With Ratings
Trail difficulty ratings are not standardised across platforms or regions. A trail rated moderate on AllTrails in the UK might be rated easy on a local hiking club’s website. A trail rated easy in the Alps means something completely different from a trail rated easy in Norfolk.
Always read recent reviews, not just the difficulty rating. Reviews from the past few weeks tell you what the trail is actually like right now — current conditions, any damage, how hard people actually found it.
The Four Things to Check Before Choosing Any Trail
1. Distance
For your first hike: 5–8km maximum. This is shorter than most beginners expect to need, but trails take longer than flat walking and your legs will feel it in ways they don’t on pavements.
A useful rule: 1km of hiking trail takes roughly 15–20 minutes on flat ground. Add 30 minutes for every 300m of elevation gain. A 6km trail with 150m of elevation gain = approximately 2 to 2.5 hours. Add 25% for stops, photos, navigation and the reality that you’re a human being not a calculator.
2. Elevation Gain
Elevation gain is the total amount of uphill climbing on a trail — measured in metres. This is often more important than distance for how hard a hike feels.
- Under 150m — gentle, suitable for complete beginners
- 150–300m — noticeable climb, good for second or third hike
- 300–500m — moderate challenge, requires some fitness
- 500m+ — significant climb, not for beginners
For your first hike, aim for under 150m of elevation gain. For your second and third hike, 150–250m. Build gradually.
3. Trail Type
Loop trails return to the start without retracing your steps. Good for beginners because you always know roughly how far you are from the car.
Out-and-back trails go to a destination and return the same way. Very beginner-friendly because you can turn around at any point.
Point-to-point trails start and end at different locations. Require transport logistics. Not ideal for beginners.
For your first hike, choose a loop or an out-and-back. Both work well. An out-and-back has the advantage that turning around early is completely natural — you just decide your endpoint is wherever you are.
4. Trail Condition and Season
A trail that’s easy in summer can be muddy, slippery or partially washed out in spring. Check recent reviews from the past two to three weeks — not the overall star rating. Look for comments about current conditions, path quality and any hazards.
Seasonal considerations:
- Spring — muddy, some paths slippery, streams higher, beautiful wildflowers
- Summer — best conditions on most trails, start early in heat
- Autumn — wet leaves make slopes slippery, beautiful colours, less crowded
- Winter — short daylight, possibly icy, some trails closed, requires extra preparation
How to Use AllTrails as a Beginner Woman
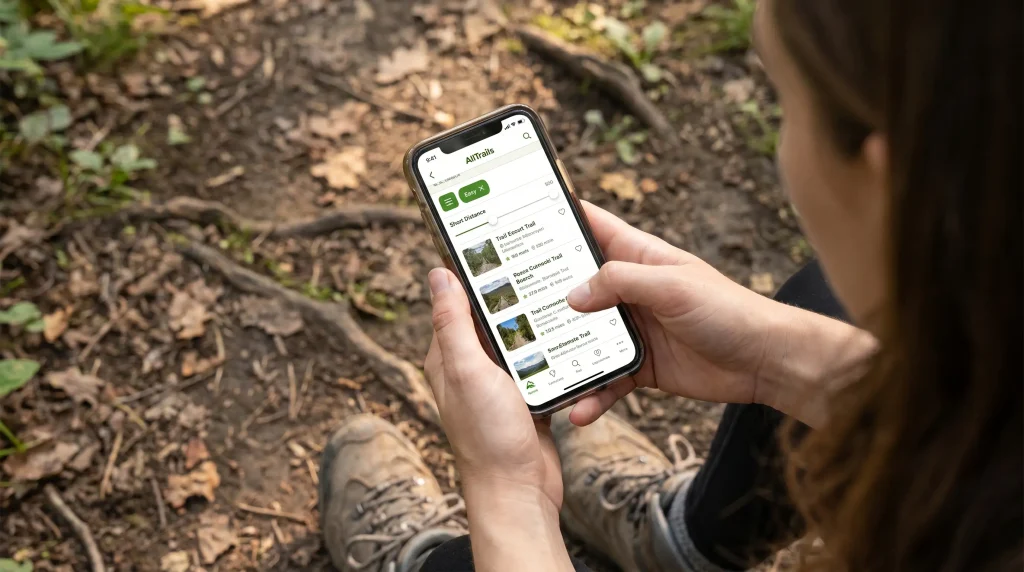
AllTrails is the best free tool for finding and vetting hiking trails. Here’s how to use it properly as a beginner.
Setting Up Your Search
- Set difficulty filter to “Easy” for your first few hikes
- Set distance to under 8km
- Sort by “Highest Rated” not “Closest”
- Filter by “Well-travelled” or “Popular” where available
Reading a Trail Page Properly
Look at the elevation profile. The graph at the bottom of each trail page shows when the climbing happens. A trail with all the climbing at the start is different from one with a long gradual ascent — same elevation gain, completely different experience.
Read recent reviews first. Sort by most recent, not most helpful. A 5-star review from 2022 tells you nothing about current conditions. A 3-star review from last week that mentions a flooded section is very useful.
Look at the photos. User-uploaded photos show the actual trail, not a marketing shot. They tell you what the terrain looks like, how exposed it is, and whether the path is clear.
Check the completed count and reviews volume. A trail with 500+ completions and dozens of recent reviews is a well-known, well-used trail. A trail with 12 completions might be less clearly marked or maintained.
Download the Map Offline
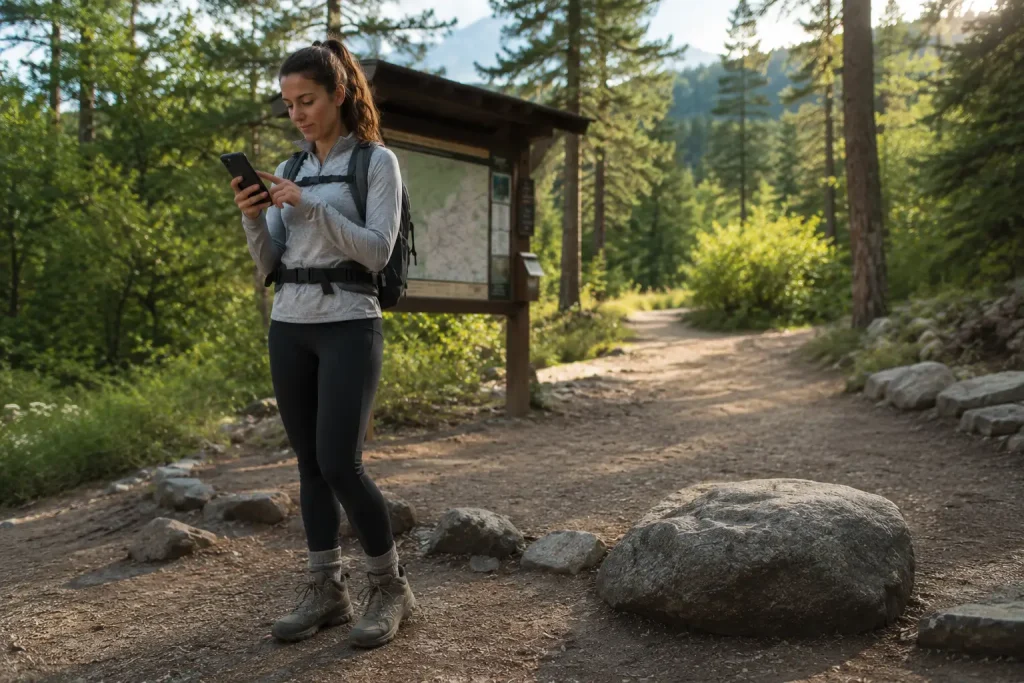
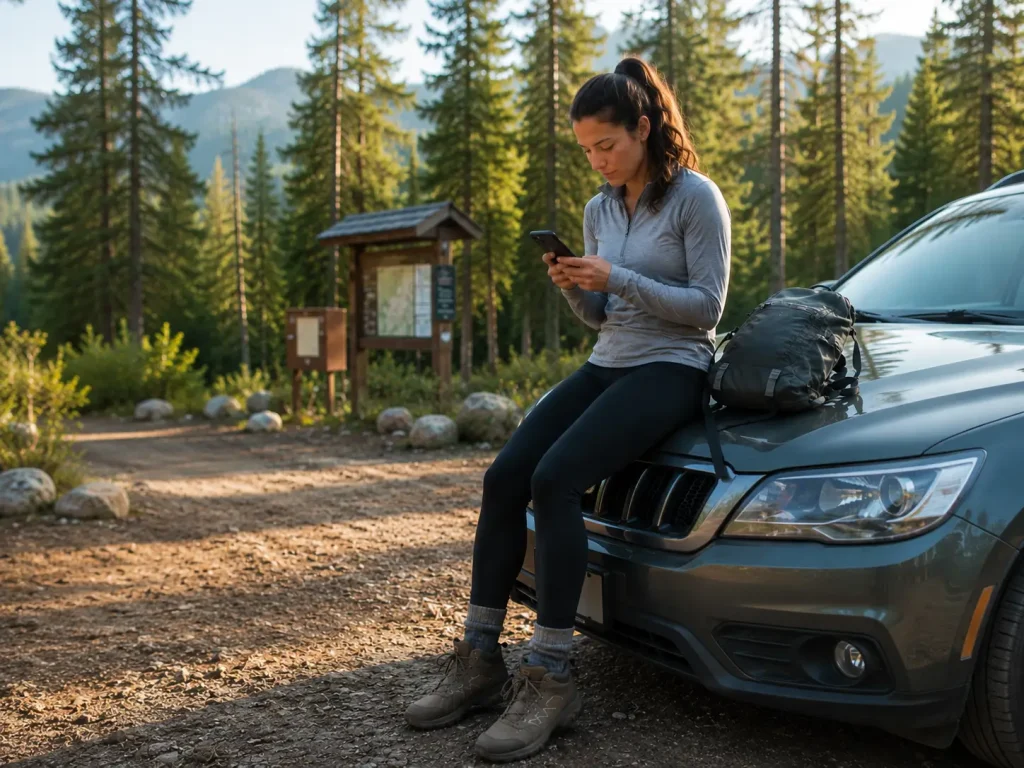
Before leaving home — not in the car park — download your trail map on AllTrails for offline use. Mobile signal on trails is unreliable. A downloaded map works without any signal at all.
What Makes a Good First Trail for a Woman Beginner
Not all easy trails are equally suitable for a beginner. Here’s what specifically to look for:
- Well-marked path — clear signage, worn path, no route-finding required
- Popular trail — other hikers around means help if you need it and confidence if you’re nervous. Once you’ve chosen your trail, make sure you have everything you need in your pack. Our day hiking essentials for beginners covers every item worth bringing.
- Accessible trailhead — clear parking, easy to find, safe to leave a car
- Good mobile signal — for your first few hikes, stick to trails with decent signal coverage
- Interesting destination — a viewpoint, waterfall or summit gives you a goal and a turnaround point
- Under 8km and under 150m elevation gain
- Positive recent reviews mentioning clear paths
How to Progress as a Beginner Hiker
Trail selection isn’t just about your first hike. It’s about building a progression that grows your fitness, confidence and skills together.
A sensible progression for beginner women:
- Hike 1–2: 4–6km easy, under 100m elevation gain, well-trafficked loop or out-and-back
- Hike 3–4: 6–8km easy, 100–150m elevation gain, still well-marked and popular
- Hike 5–6: 8–10km easy-moderate, 150–250m elevation gain
- Hike 7+: Start exploring moderate trails, longer distances, more elevation
Each hike in this progression builds on the last. For everything else you need to know as you progress — pacing, hydration, safety and trail etiquette — our beginner hiking tips for women covers all the practical steps. You’re not just getting fitter — you’re learning how to read terrain, manage your energy, navigate on trail, and trust your own judgement. All of those skills matter as much as fitness for choosing harder trails safely.
Common Trail Selection Mistakes Beginner Women Make
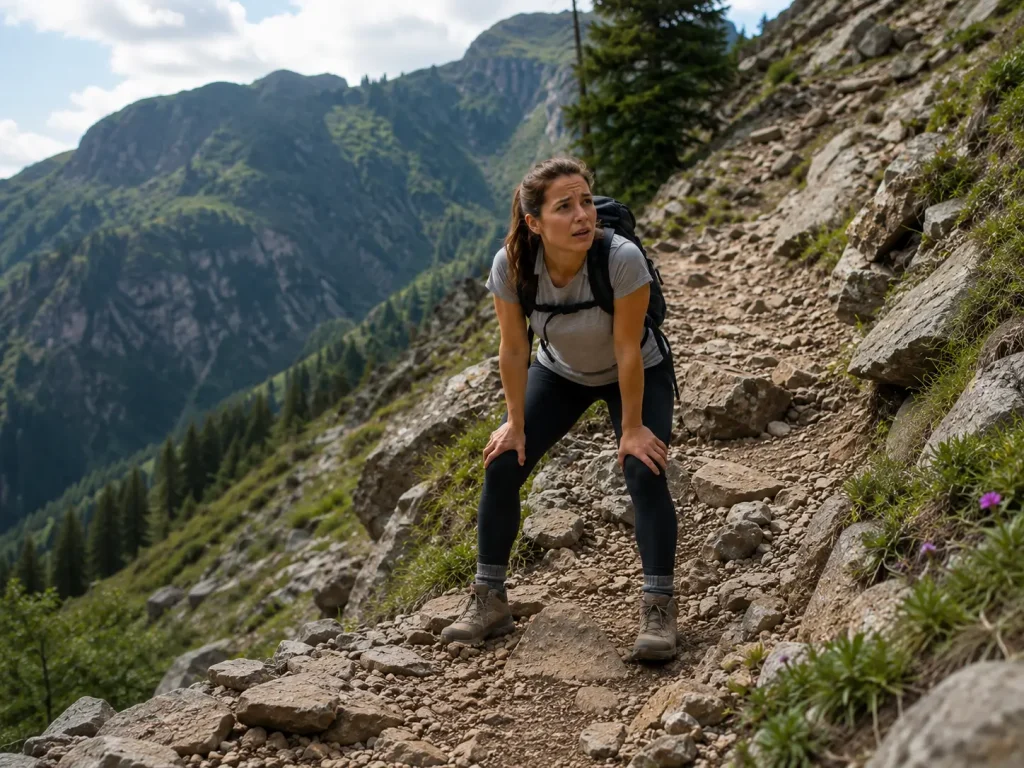
Choosing by scenery alone. The most beautiful trail is not always the most suitable trail. Beautiful views often come with significant elevation gain and technical terrain. Earn the view — don’t start with it.
Ignoring elevation gain. Distance is easy to understand. Elevation gain is what actually makes a trail hard. A 6km trail with 400m of gain is significantly harder than a 10km trail with 100m of gain.
Trusting outdated reviews. A trail that was clear and well-marked in summer might be a muddy mess in March. Always check recent reviews.
Underestimating time. Trails always take longer than expected. Start early enough that even if everything takes 30% longer than planned, you’re back before dark.
Choosing remote trails alone as a beginner. Popular, well-trafficked trails for your first few hikes. Remote trails are for when you have more experience, better navigation skills, and ideally a hiking companion.
Not checking the weather. Check the morning of your hike, not the night before. Mountain and trail weather changes faster than forecasts update.
Trail Selection Checklist
Before committing to a trail, run through this:
- Distance under 8km (for first 3–4 hikes)
- Elevation gain under 150m (for first 3–4 hikes)
- Difficulty rated Easy on AllTrails
- Recent reviews (past 2–3 weeks) show clear conditions
- Well-trafficked — other hikers likely to be present
- Loop or out-and-back trail type
- Trailhead easy to find and safe to park
- Offline map downloaded
- Weather checked this morning
For a full pre-hike safety checklist and everything you need to know about hiking alone as a woman, our solo hiking safety guide covers every habit in detail.
- Someone told your trail name and return time
The Best Apps for Finding Hiking Trails
AllTrails — the most comprehensive trail database globally. Free version covers most needs. Pro adds offline maps (worth it once you’re hiking regularly).
Komoot — excellent for route planning and offline navigation. Strong in Europe. Good community reviews.
OS Maps (UK) — Ordnance Survey mapping is the gold standard for UK trails. Essential if you’re hiking in the UK beyond maintained footpaths.
What3words — not for finding trails, but for sharing your exact location with emergency contacts. Useful safety tool for any hike.
FAQs
If the elevation gain is over 300m, the distance is over 12km, or the reviews mention scrambling, route-finding or technical terrain — it’s too hard for a beginner. For your first few hikes, stick to easy-rated trails under 8km with under 150m of elevation gain.
5–8km on a flat to gently rolling trail is ideal. Short enough to finish comfortably, long enough to feel like a proper achievement. Save the longer trails for once you know what your hiking pace and energy levels actually are.
For your first few hikes, choose well-trafficked popular trails where you’re unlikely to be completely alone. As you build experience, hiking alone is completely manageable with proper preparation — telling someone your plan, downloading your map and carrying the right safety items.
AllTrails is the easiest starting point. Open the app, allow location access, set filters to Easy and under 8km, and sort by Highest Rated. Read recent reviews for the top options and pick one that appeals. Local hiking clubs and visitor information centres are also excellent sources for well-maintained beginner trails in specific areas.
Elevation gain is the total amount of uphill climbing on a trail, measured in metres. It’s separate from trail length and often more important for how hard a hike feels. A trail with 400m of elevation gain is genuinely hard regardless of distance. For beginners, aim for under 150m.
On a flat, easy trail: approximately 60–75 minutes at a comfortable hiking pace. Add 30 minutes for every 300m of elevation gain. Always add 20–30% for rest stops, photos and navigation. A 5km trail with 100m of elevation gain typically takes 80–100 minutes for a beginner.
Final Thoughts

Choosing the right trail is a skill — one that gets easier with every hike you do. For now, the framework is simple: easy rating, short distance, low elevation gain, recent positive reviews, popular and well-marked.
Your first hike doesn’t need to be impressive. It needs to be enjoyable enough that you want to go again. Get that right and everything else — harder trails, more remote routes, bigger mountains — follows naturally. The trail that’s right for you is the one that gets you out there. Start there.

Intermediate hiker sharing real trail experience — honest gear picks, beginner-friendly guides, no filler.